Consultation Screen
There are mutiple view and options available for Clinicians and also the ability to configure the screen and widgets according to your preference. The Consultantion screen will load when the Clinician Click on ==Consult== Button on the worklist
Consultation Screen with Care Protocols Enabled
Let's take a look at the
Consultation Screen with Basic Notes without the Care Protocols
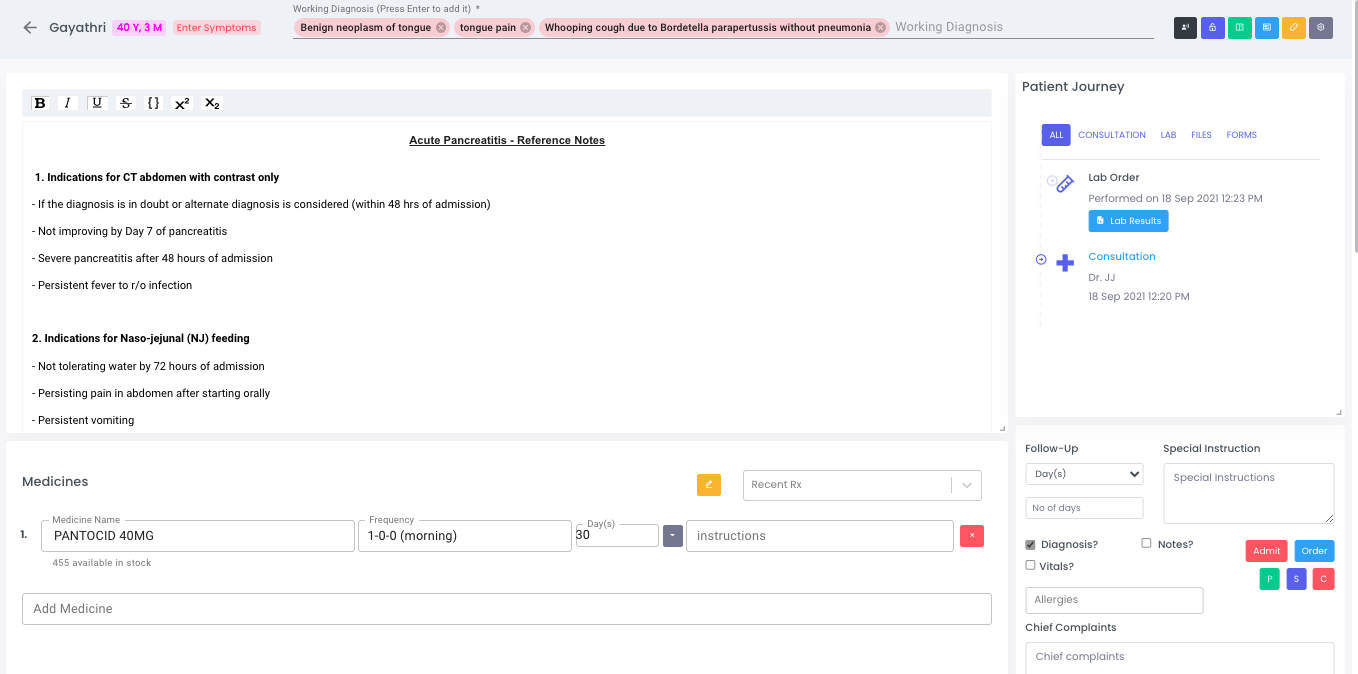
Let's go through the various sections on the screen On the top the Patient Details, Referring Doctor, Symptoms, Working Diagnosis can be seen and added/modified
Header Widget

Updating Symptoms
To update the symptoms of a patient click on symptoms and it will change to a text box, here you can key in the symptoms of the patient
Adding Working Diagnosis
The Clinician can start keying in the diagnosis and MetahOS smart assistant will give you a dropdown list of International Classification of Diseases V10 (ICD10) and ICD-Oncology specific descriptions, The Providers can also key in any text and hit Return/Enter Key to save the diagnosis
## Action Buttons for Consultants/Clinicians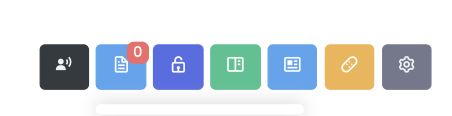
Voice Dictation Clicking this button will activate voice dictation mode, the consultant can start dictating the entire case notes, the platform will understand and process the data accordingly, for example when spoken to the platform Paracetamol 250 mg twice daily after meals will load the meds into the medication section.

Lock/Unlock Screen Layout Clicking the Unlock/Lock Toggle button will let you redesign your entire UI (the consultation screen), you can move the widgets around, resize them according to your preference. Once you click the lock screen layout it will autosave the layout and this layout will be used for all your consultations.

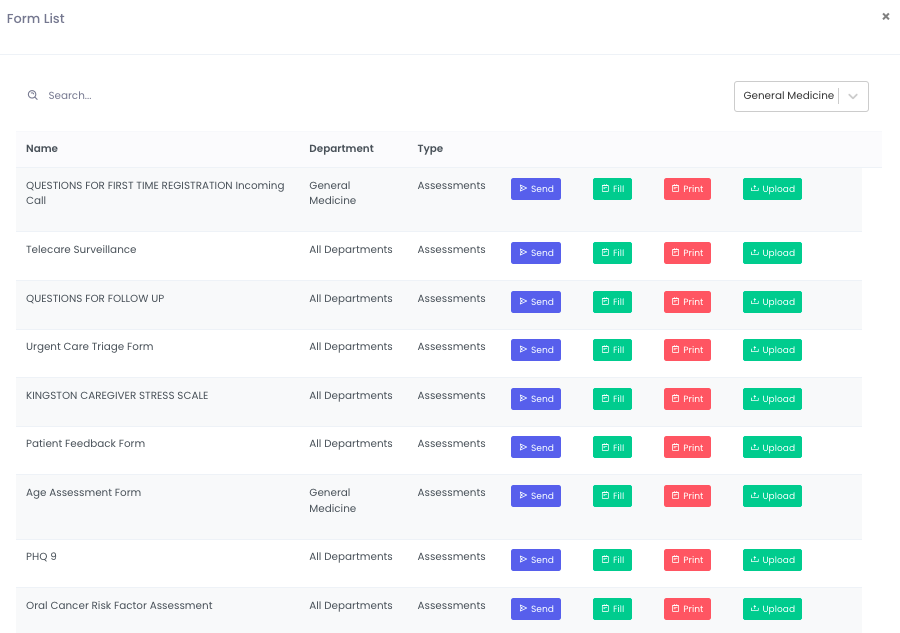
Assessments Clicking on the Assessment button will bring up the Assessments window from which you can select the relevant assessment that you want to run on the patient. You can also view the responses for assessment here as well

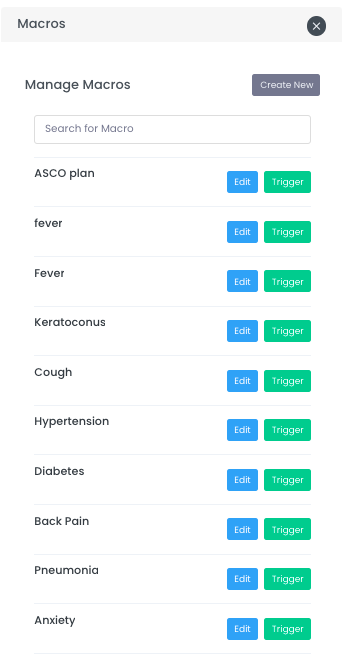
Macros The Macros are ready to use notes, medications, diagnostic tests templates that you had previously created or created for you. You can load multiple macros and a combination of them. The platform will prompt you if you want to Append / Replace existing meds that you have already keyed-in. To load a macro you have to trigger it.

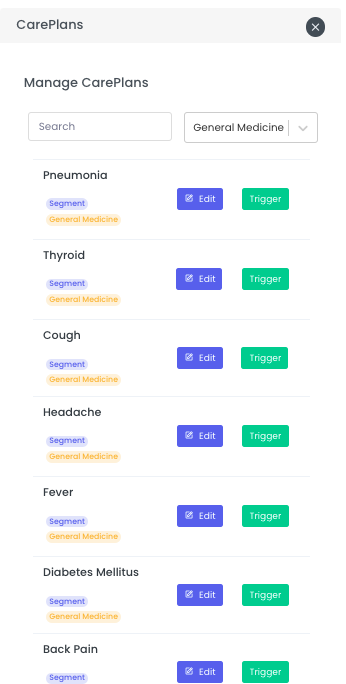
Care Plans The Care Plans button will load the available Care Plans that you had created or the ones that were created for you and your department. Based on the condition of the patient you can select the care, Care plans are essentially Macros but with UI, you can also have Care plans associated with Medications, Lab Tests etc. To load a Care Plan you have to trigger it, also you can have a care plan load by default based on your speciality for all the patients that you see.

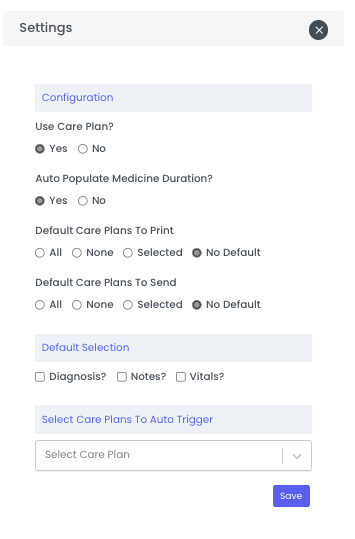
Settings The settings button will load the settings screen, this is where you can enable the layout to use Care Plans, load default Care Plans, etc.,

Prescribing Medications
To Prescribe Medications go to the medications widget and start keying the medication, the auto suggest will come up as you start keying in the medication name
You can also view and load from Previous Prescriptions, MetahOS will prompt you if they need to be Appended or Replace the current Meds
You can also manage the Frequencies, special instructions and create your own. If you create your own frequencies then only those frequencies will be available for selection else by default you will get almost all the frequencies and instructions on taking the medications.
Special instructions can be created by Clinicians as per the population that they treat in various languages
English
ಕನ್ನಡ
हिन्दी
मराठी
বাংলা
தமிழ்
and any other language that supports Unicode
Lab/Radiology Investigations
To Suggest Investigations during the consultation start typing the name of the investigation in the Suggested Investigations field, you can also type in investigations in Follow up Investigations field for Patients who need to get a test performed before coming for their next/followup consultation
Adding Procedures
To have a procedure performed on the patient, key in the Procedure name in the Procedure widget

Completing Consultation
There are multiple options in completing the consultations before you complete the consultation, you want to key in the follow up days, Special Instructions and assuming that you have key'ed in Chief Complaints
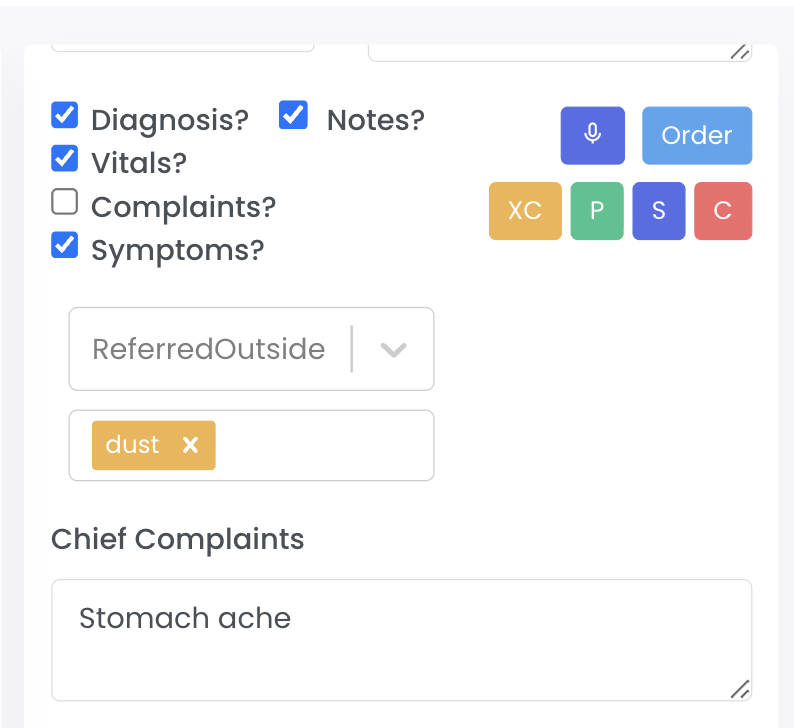
You as a Clinician can also select which sections of the prescription can he shared with the patient for example unchecking Diagnosis, Notes and Vitals will result in just the Medications displayed/printed/shared on the Prescriptions. There are action buttons that perform specific actions
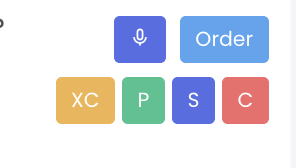
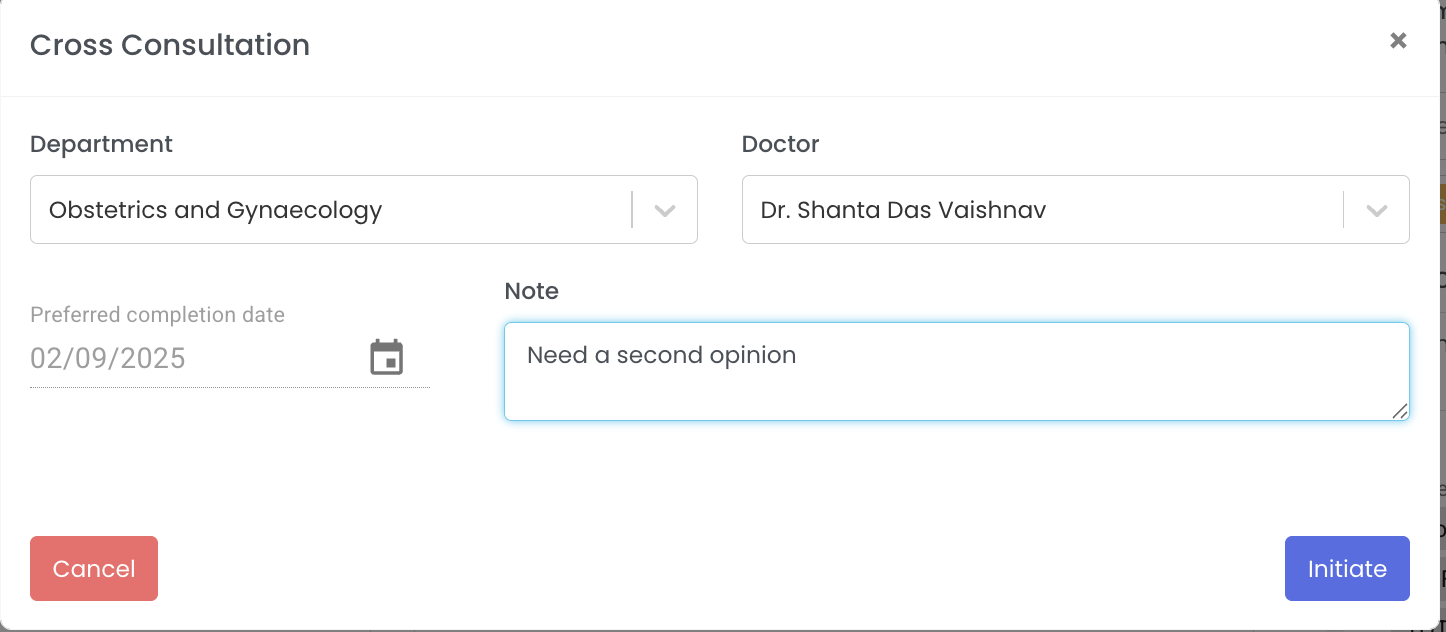
Cross Consultation Button
When you click the XC button, it will bring up the screen to enter the new refferal doctor of any department in the same hospital or branch.
Order Button
Will order the investigations that need to be performed without completing the consultation, this is typically used when the Clinician wants to have some tests done to determine the best care plan possible. The investigations will be sent to Lab and Rad respectively so that the patient can just walk in there and get the tests done.
Print Prescription

This will print the presciption without completing the consultation, this is typically used to generate a paper based presciption/notes that need to be shared with the patient.
Send Digital Prescription

The consultant can also send a digital copy of the prescription, the digital copy will be sent via WhatsApp and also SMS. The WhatsApp version will contain the PDF file and SMS version will just have the link to the prescription
Complete Consultation

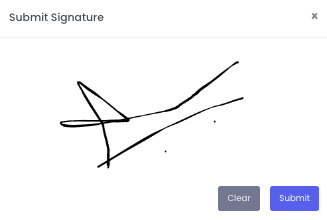
When completing the consultation the system will ask you to Digitally signed (you can also opt for preloaded signature with your IT Team/Hospital Administrator) When you click on the Complete button, the platform will prompt you to select the print/share options, this is used when you have to share a specific care plan with the patient or education plan
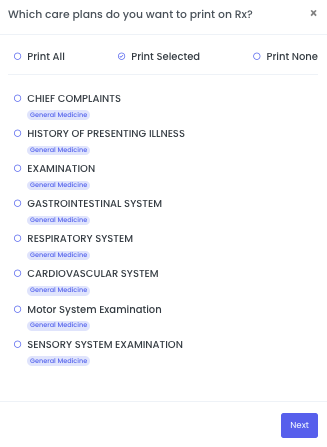
You can select Print All, Print Selected, Print None and Hit Next to sign the prescription.
You can now preview the prescription before sending it out
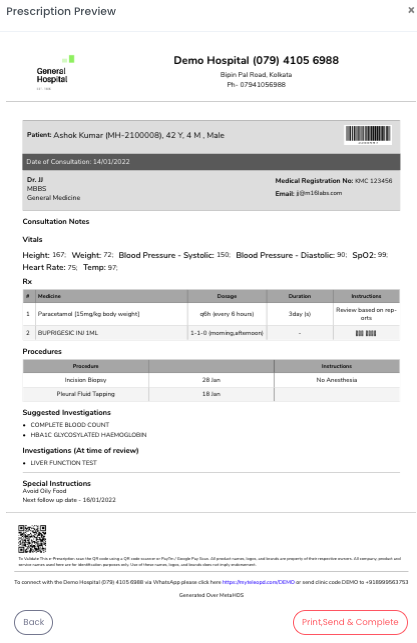
If you wish to make any changes you can click Back and modify the prescription. If everything is to your satisfaction then click on Print, Send & Complete this action will print the prescription, send a digital copy (SMS and WhatsAPP) and mark the consultation as complete.
