OT
From Patient Navigation
In the Patient Navigation Screen, search for any surgery, select a payment method and click on Initiate Navigation button. This surgery will now be shown in the Unscheduled section of Worklist > OT Register.
From OP
In the Consultation Notes screen of an OP consultation, click on the Schedule Surgery Button on the right pane. It will open the OT Manager screen where you can schedule the surgery.
OT Register
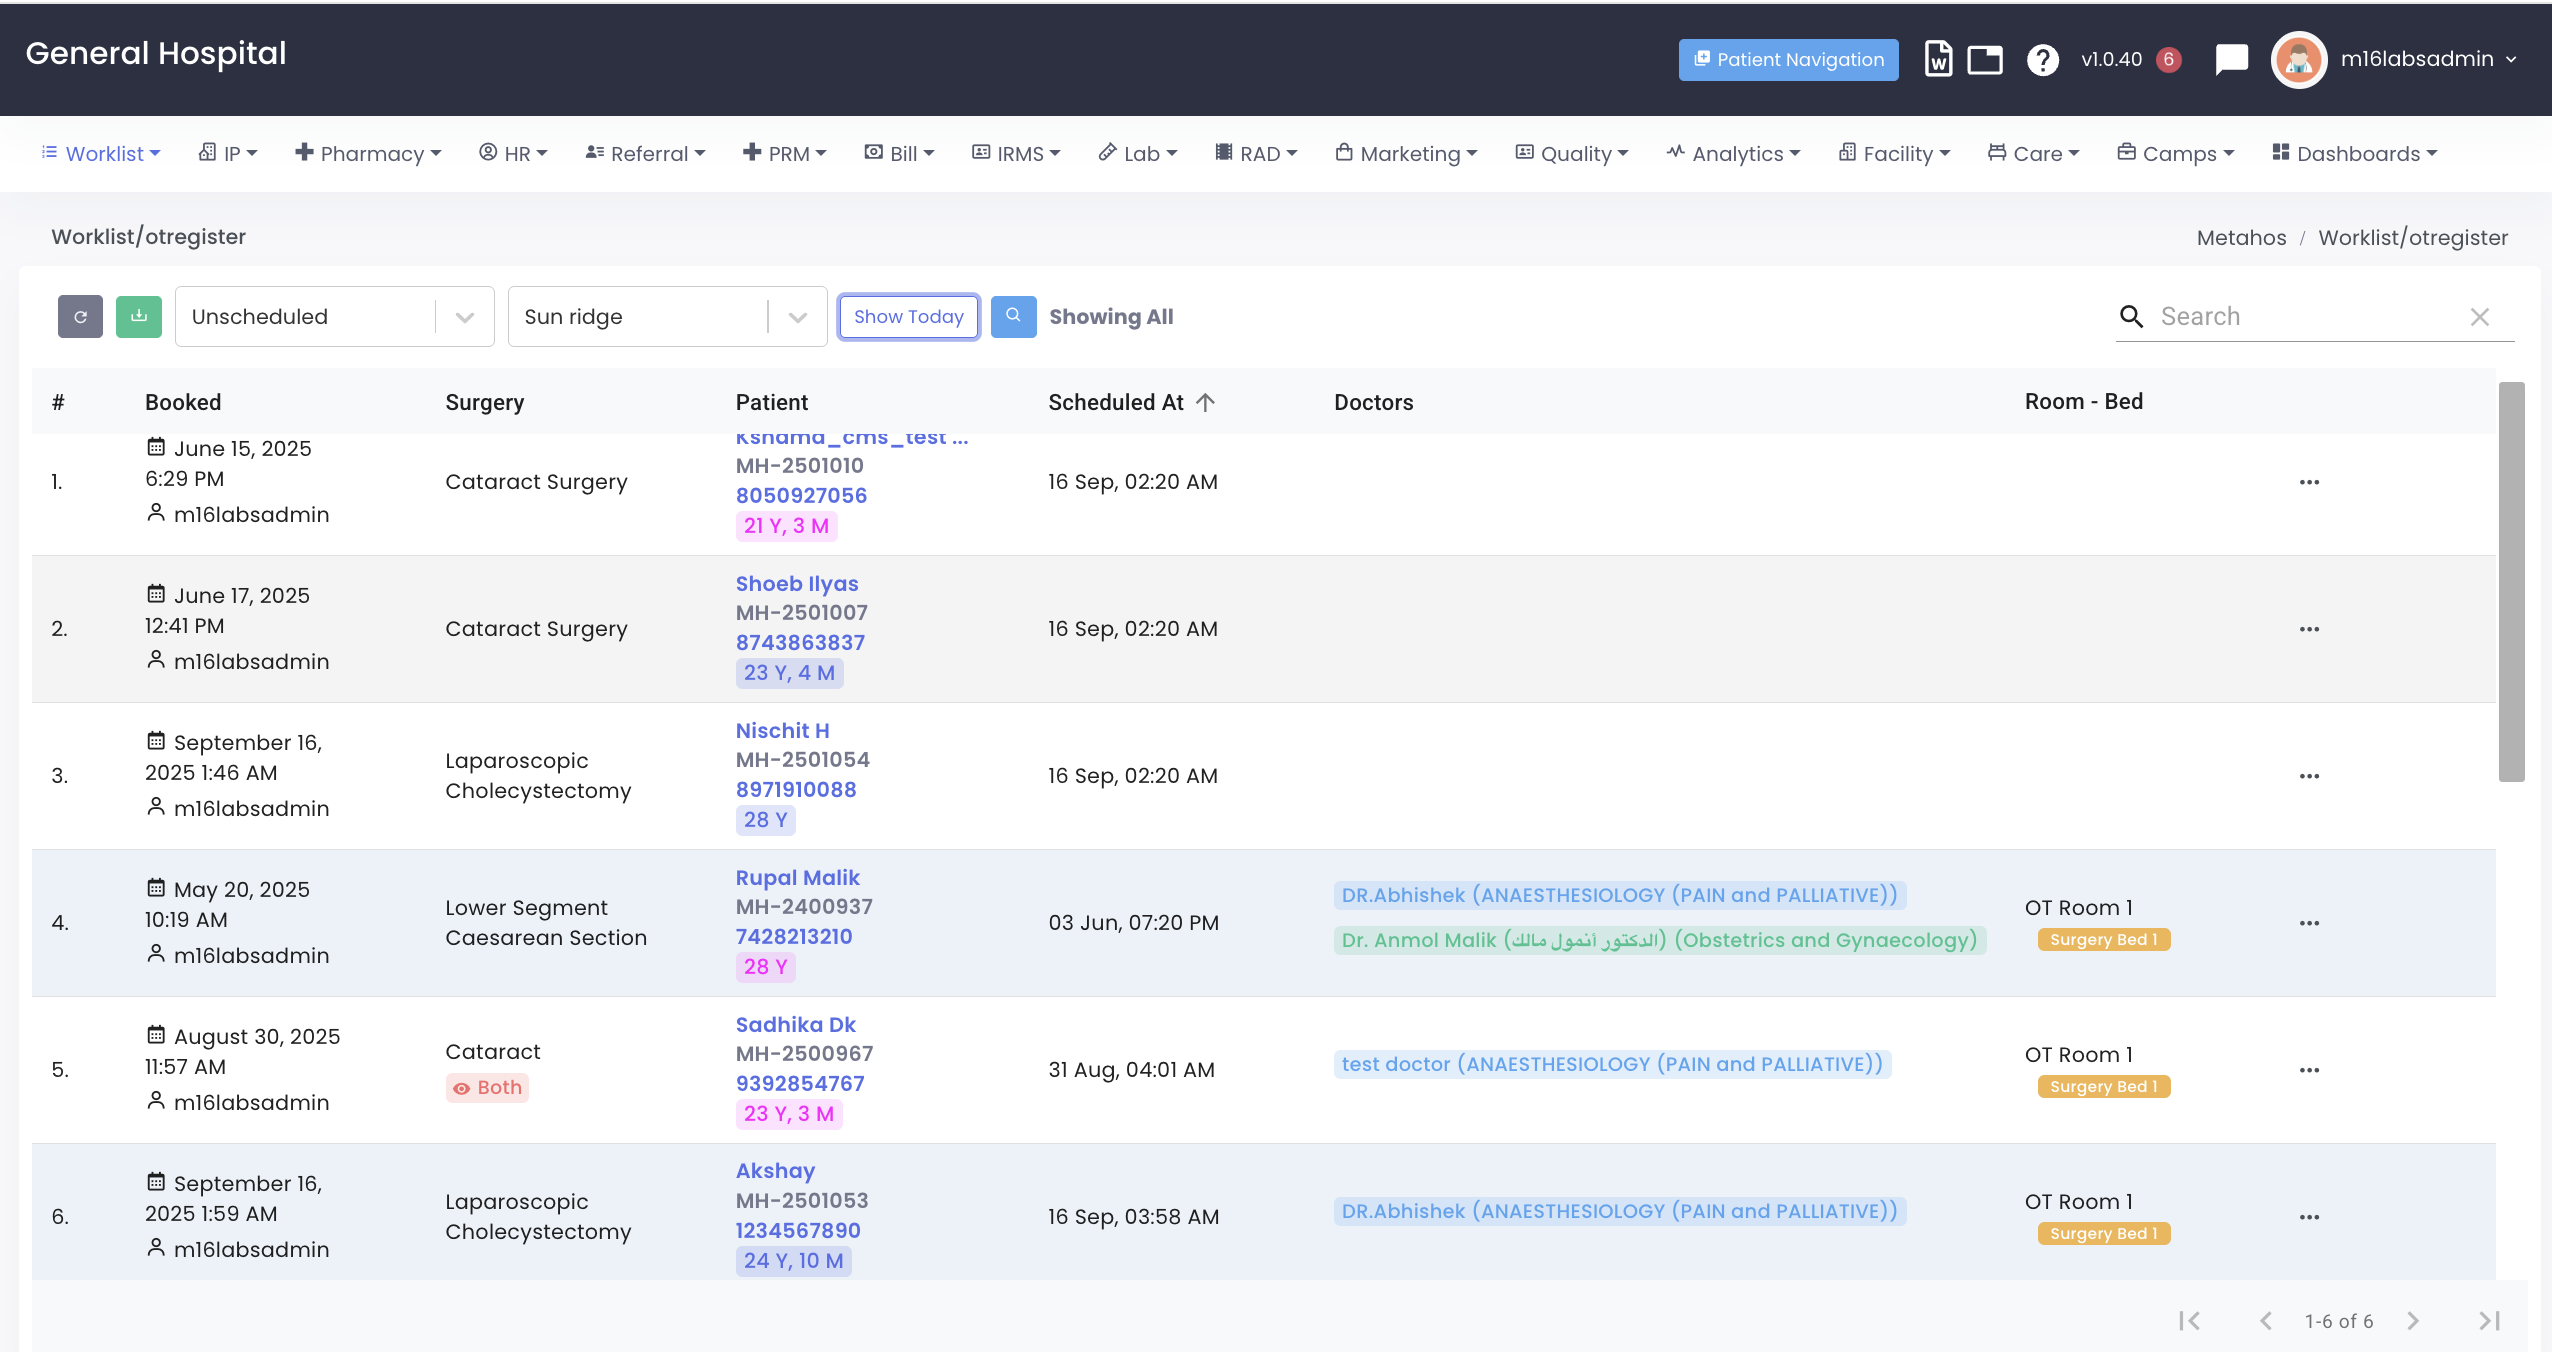
Any surgery that is either booked from Patient Navigation or suggested by a doctor directly comes to OT Register Screen. This feature is accessed from Worklist > OT Register.
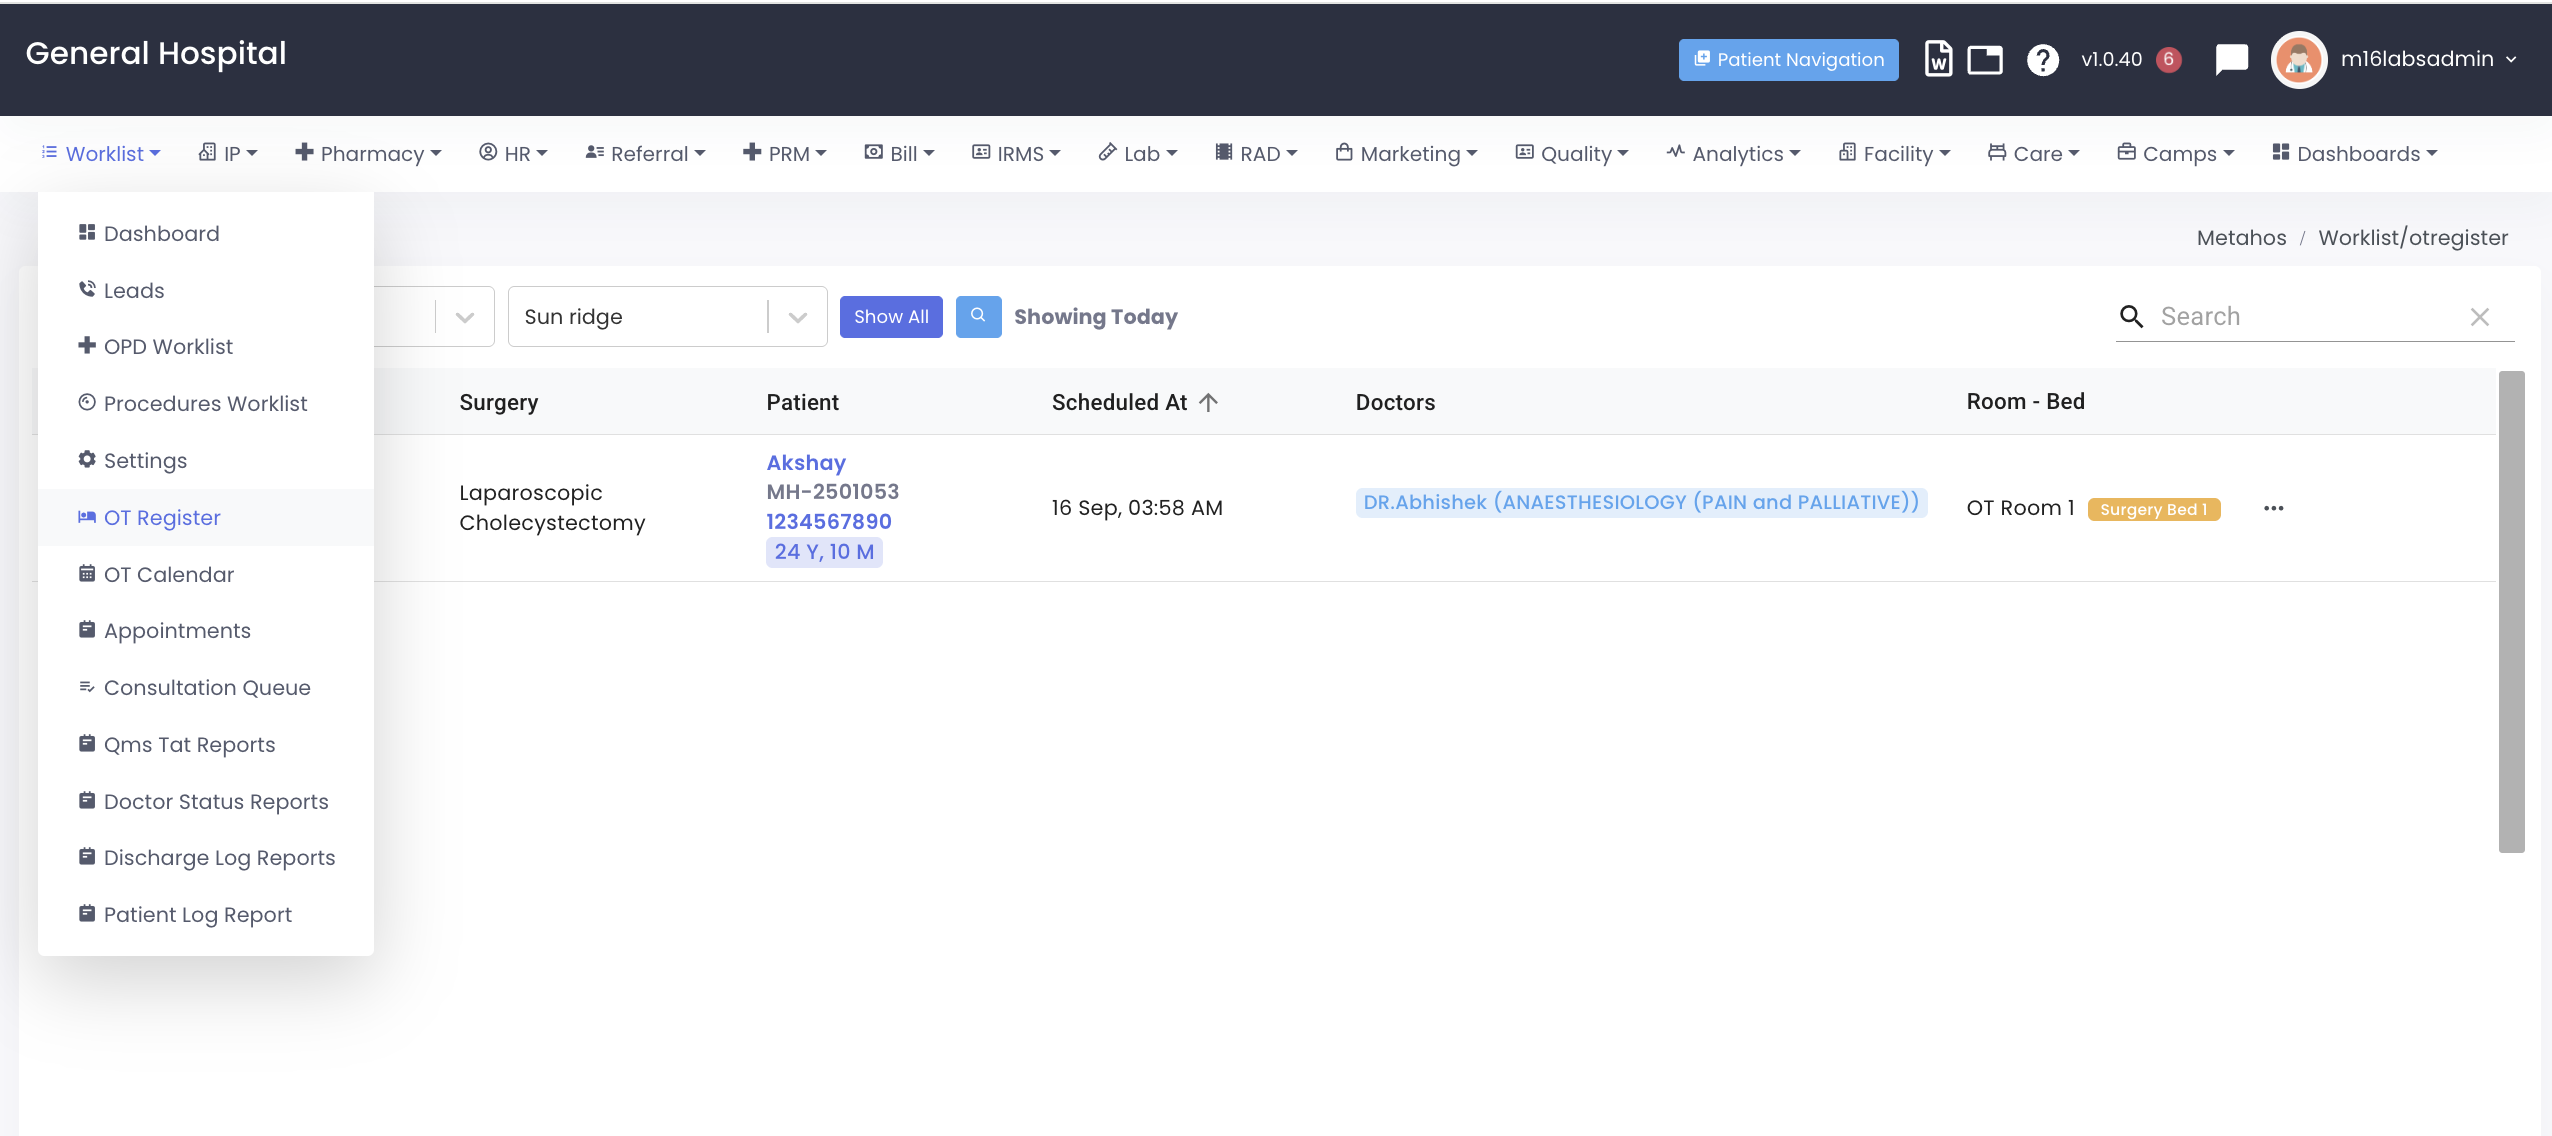
The OT Register Screen has a dropdown to check out either Scheduled, Unscheduled, Completed, Cleared or all surgeries. It is set to Unscheduled by default.
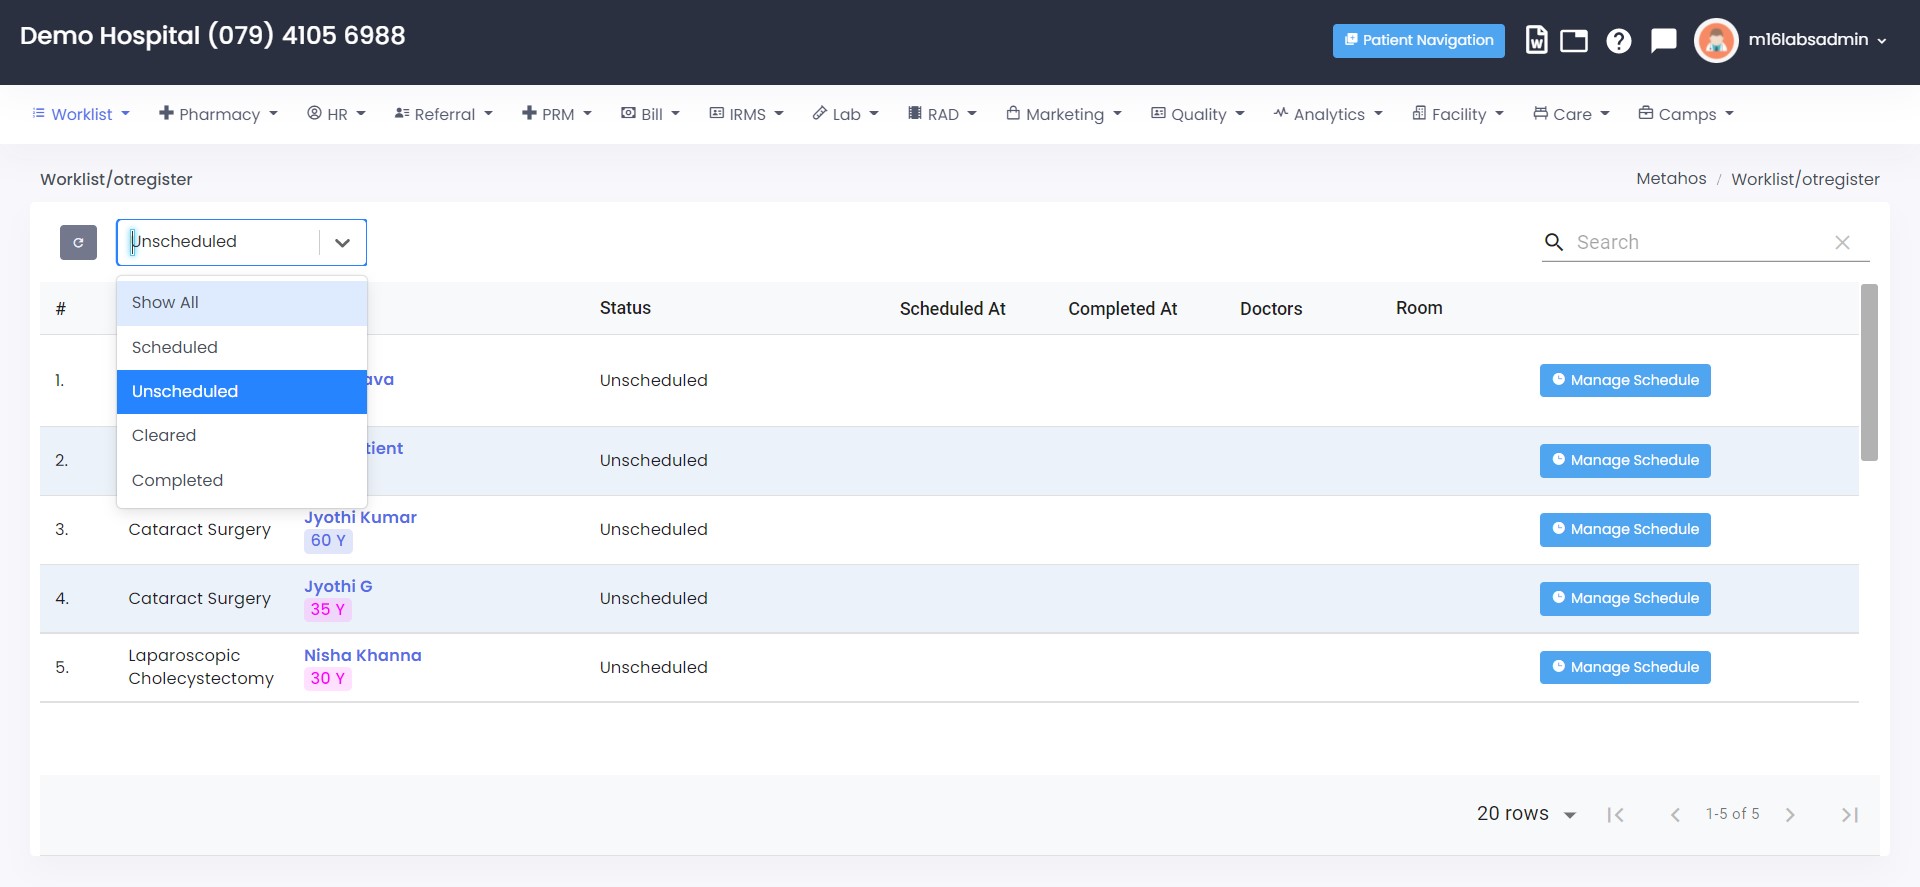
Unscheduled
All the surgeries that have just been booked and not scheduled yet are shown in this section.
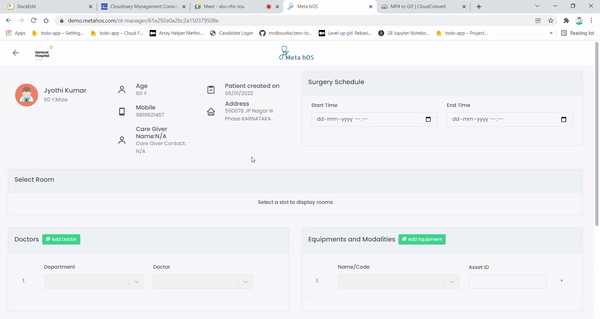
Click on the Manage Schedule button to open the current surgery manager where you can enter the schedule, the doctors required the nurses and the equipments and modalities of that particular surgery.
On the OT Manager screen, follow the following steps.
- In the surgery schedule section, select the start date-time and end date-time of the surgery.
- As soon as both the start and end times are set, all the rooms, doctors, and equipments available for that time slot are fetched.
- In the Select rooms section, all available rooms with their accessories are shown. Click on the preferred room and it will get highlighted.
- In the Doctors section, select as many doctors as needed. You can click on the Add Doctor button to add another doctor and the cross icon adjacent to a doctor to delete him/her from the list.
- In the Equipments section, select as many equipments as needed. You can click on the Add Equipment button to add another equipment and the cross icon adjacent to a equipment to delete it from the list.
- Similarly in the nurses selection you can add/remove nurses.
- Click on the Schedule Surgery button at the bottom to schedule it.
*Please note that if any of the start or end time is changed, the system reloads all the doctors, rooms, etc. so the selected data will get cleared. It is advised to first select the slot and then proceed with the selection of rooms and doctors.
Scheduled
All the scheduled surgeries are visible in this section.
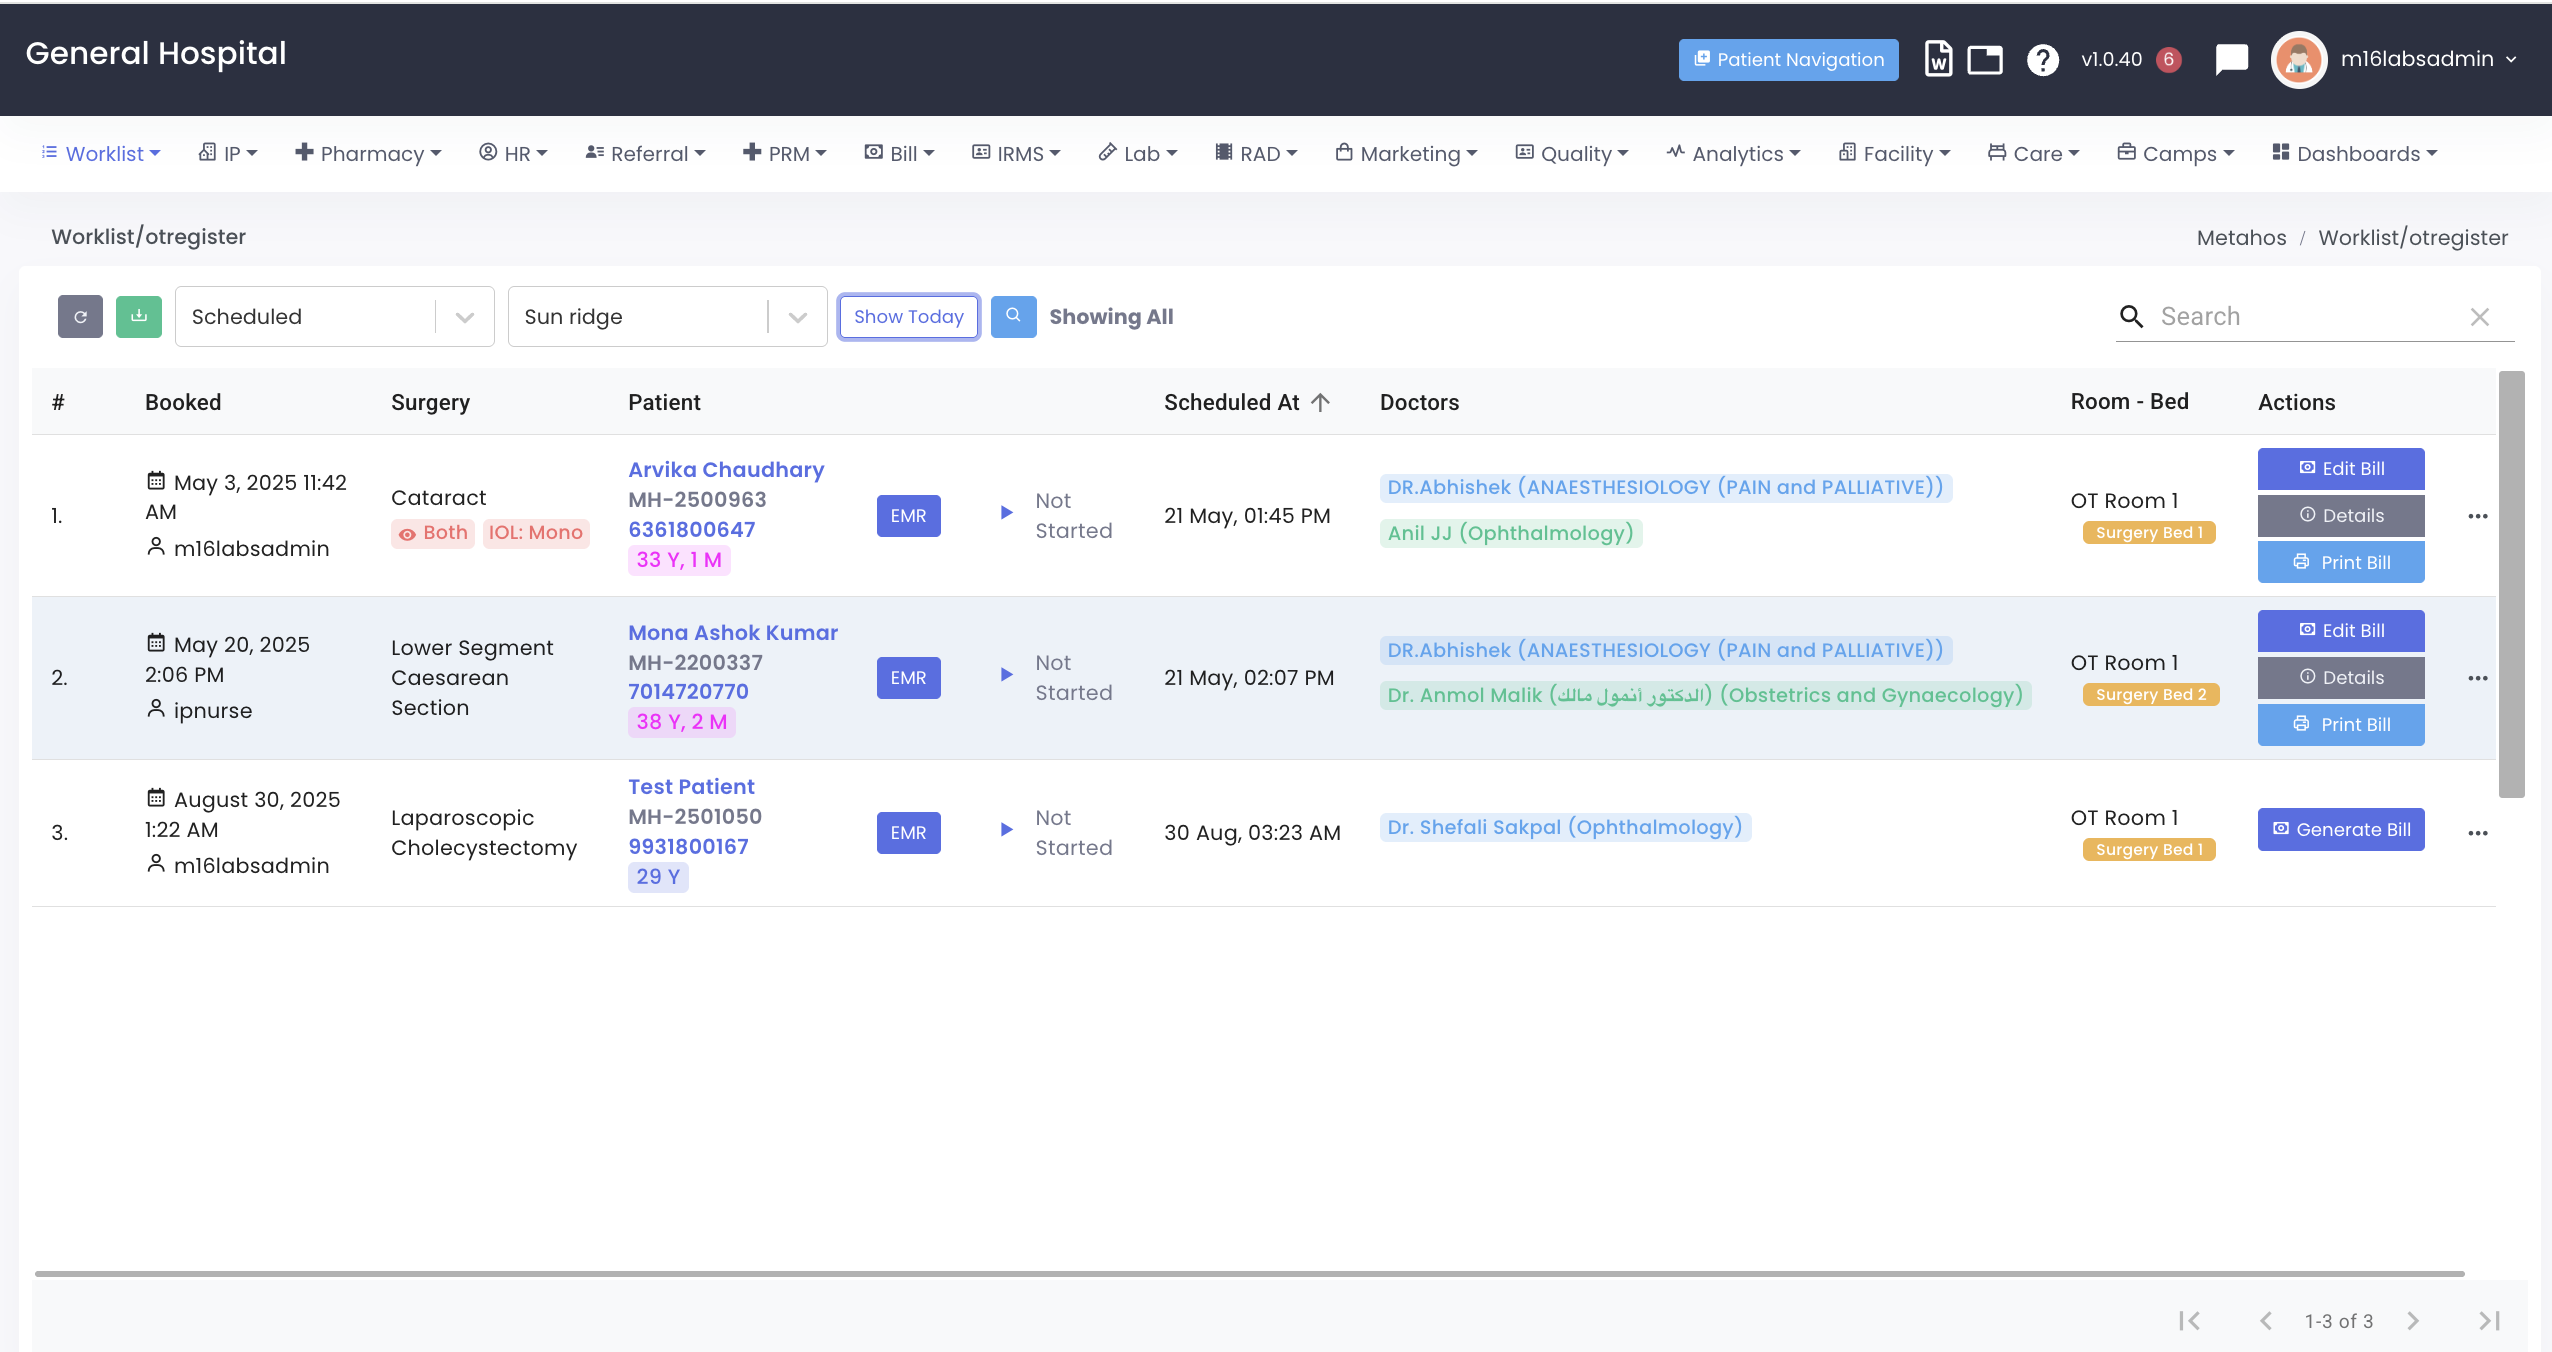
All the necessary details about the surgery like the doctors, room selected are shown in each row.
Click on the EMR button to open OT Manager again if you want to edit details about the surgery.
Pre-OT Checklist
In-surgery checklists and notes.
Post-OT Checklist
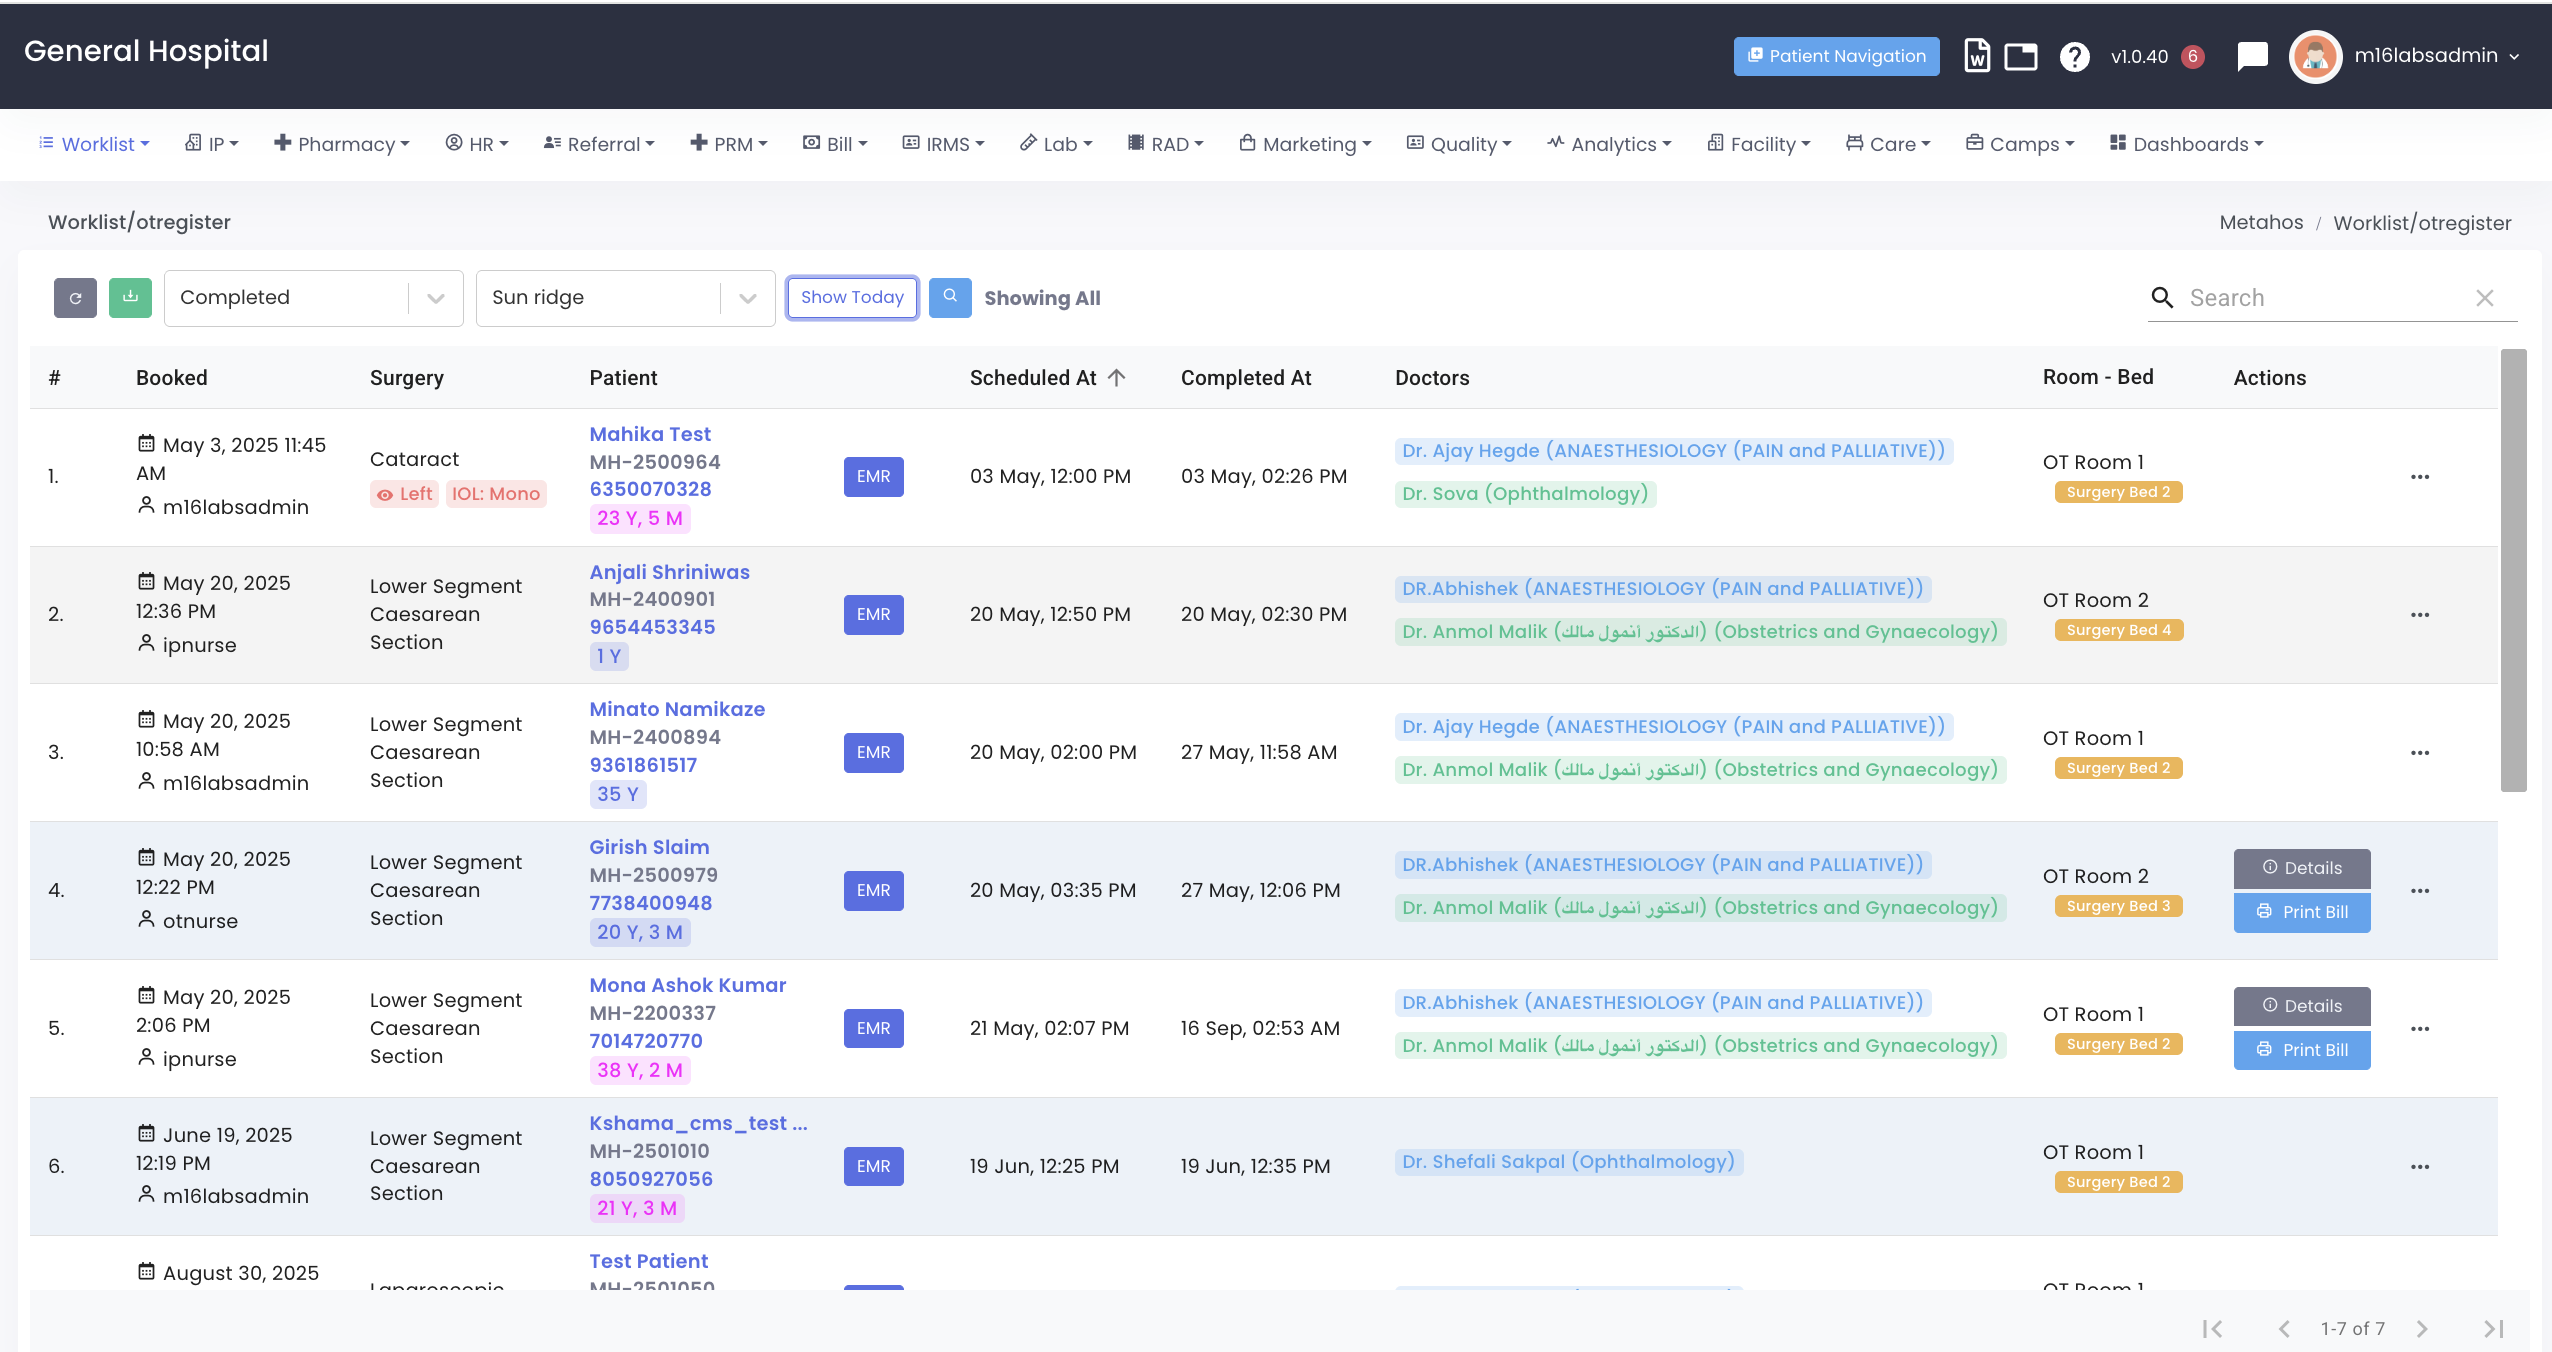
Completed
All the completed surgeries are shown here.
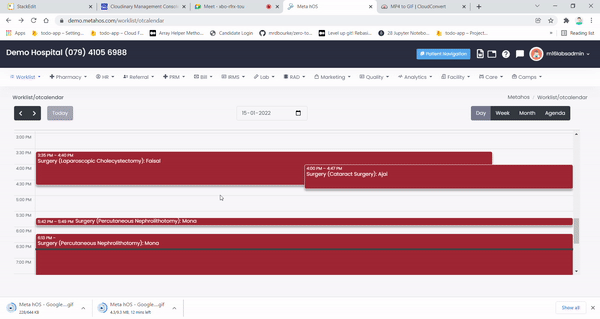
OT Calendar
It is accessed by clicking on Worklist > OT Calendar.
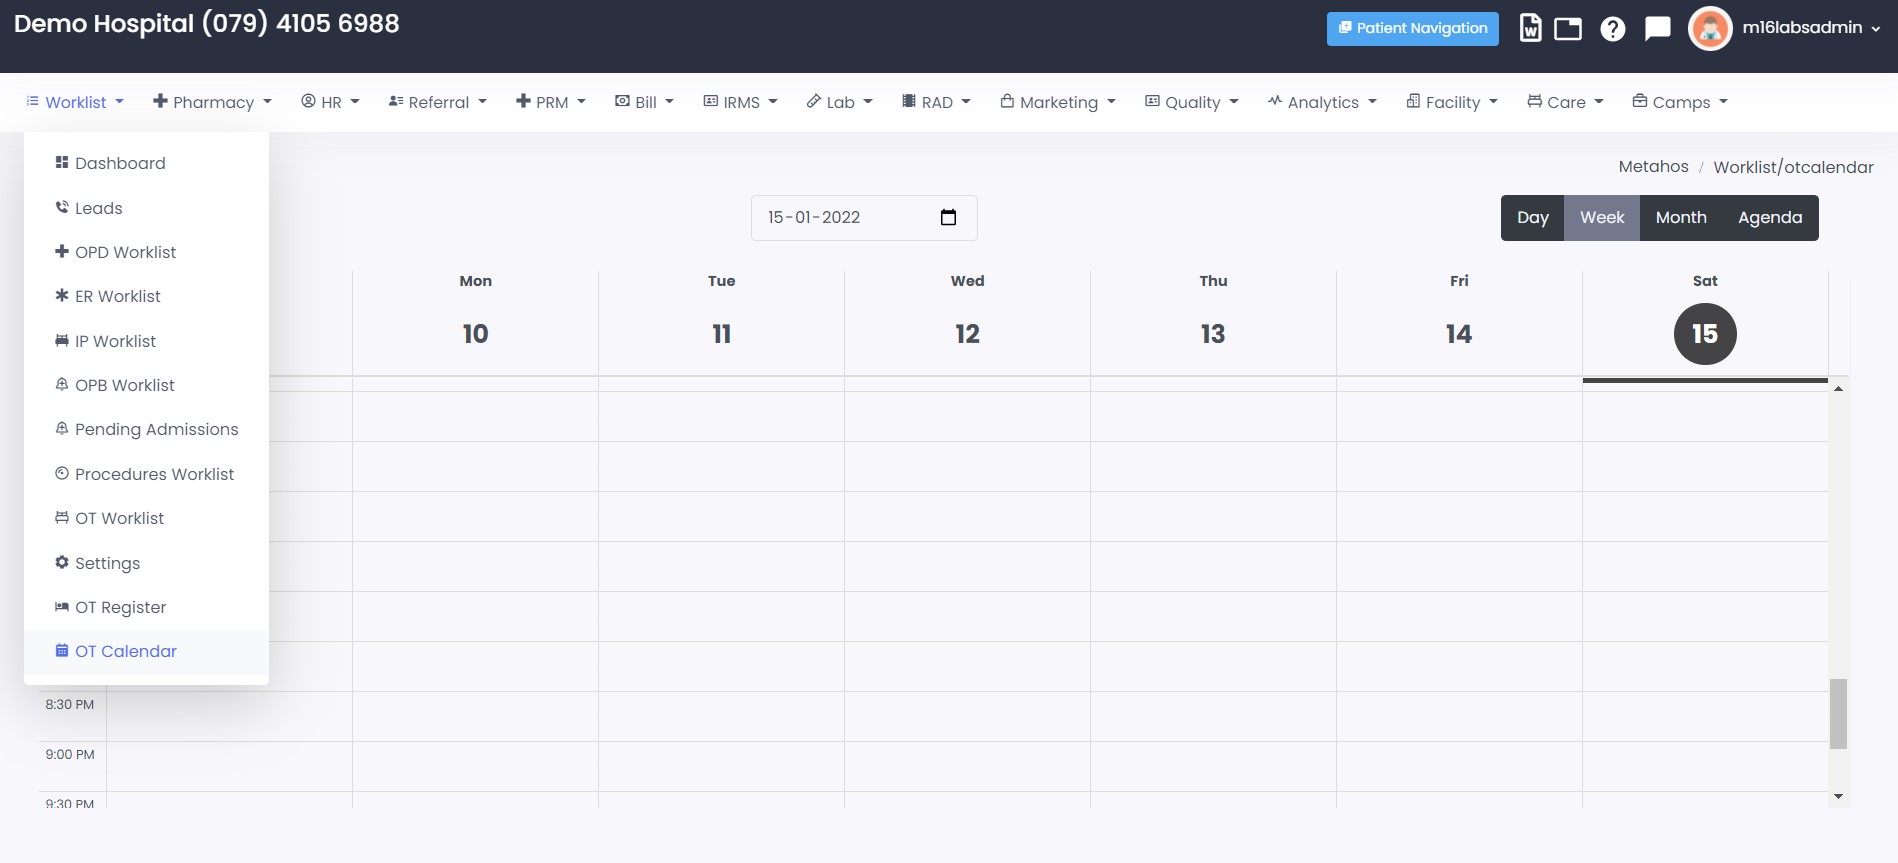
It is nothing but the Calendar view of all the scheduled and completed surgeries.
View Buttons

Day Navigation

Date Selector
On the Calendar, click on any event to go to the OT Manager screen of that surgery.