Lab Dashboard
After the login, the user reaches the landing page.
LAB:
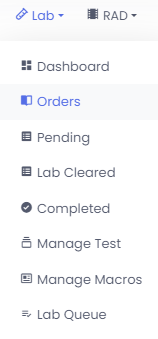
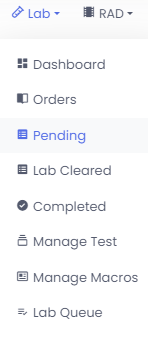
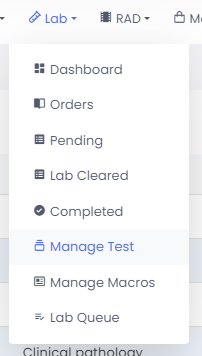
1. Lab > Dashboard :
To access Dashboard, navigate to the top menu and select “Lab” followed by “Dashboard”.
1.1 Dashboard
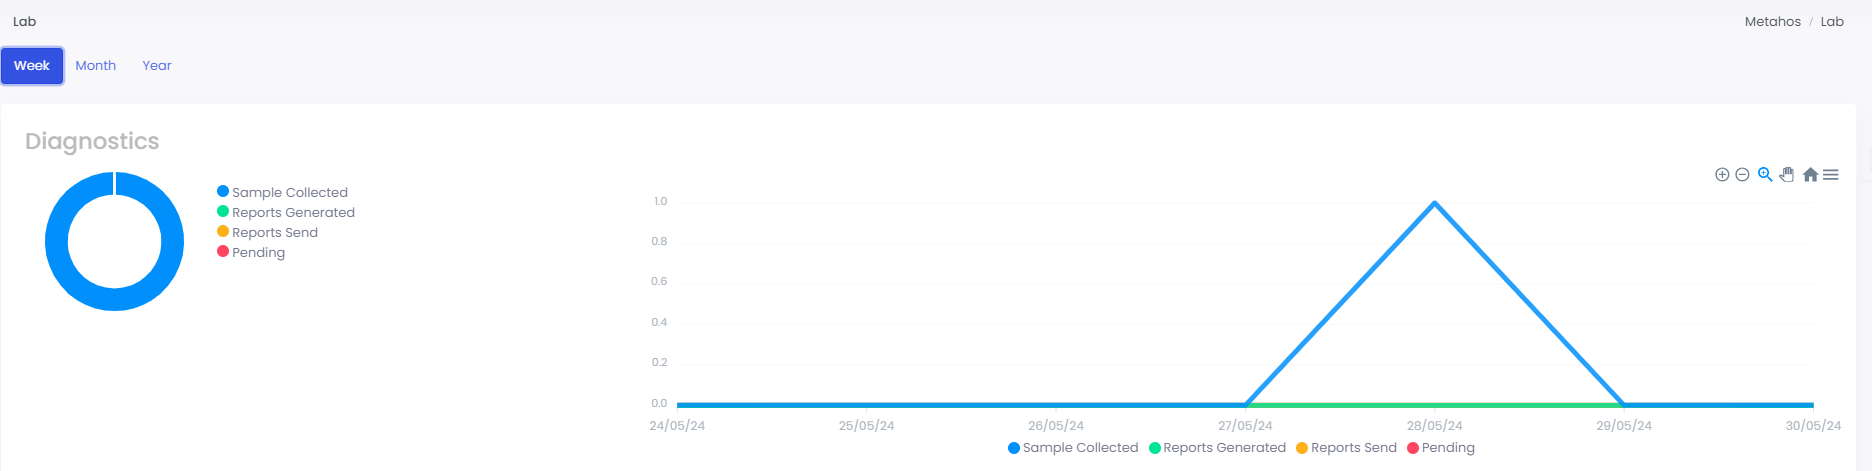
- After selecting “week”, the user will be able to view and download Diagnostic representation (Sample collected, Reports Generated, Reports Send and pending) current week.
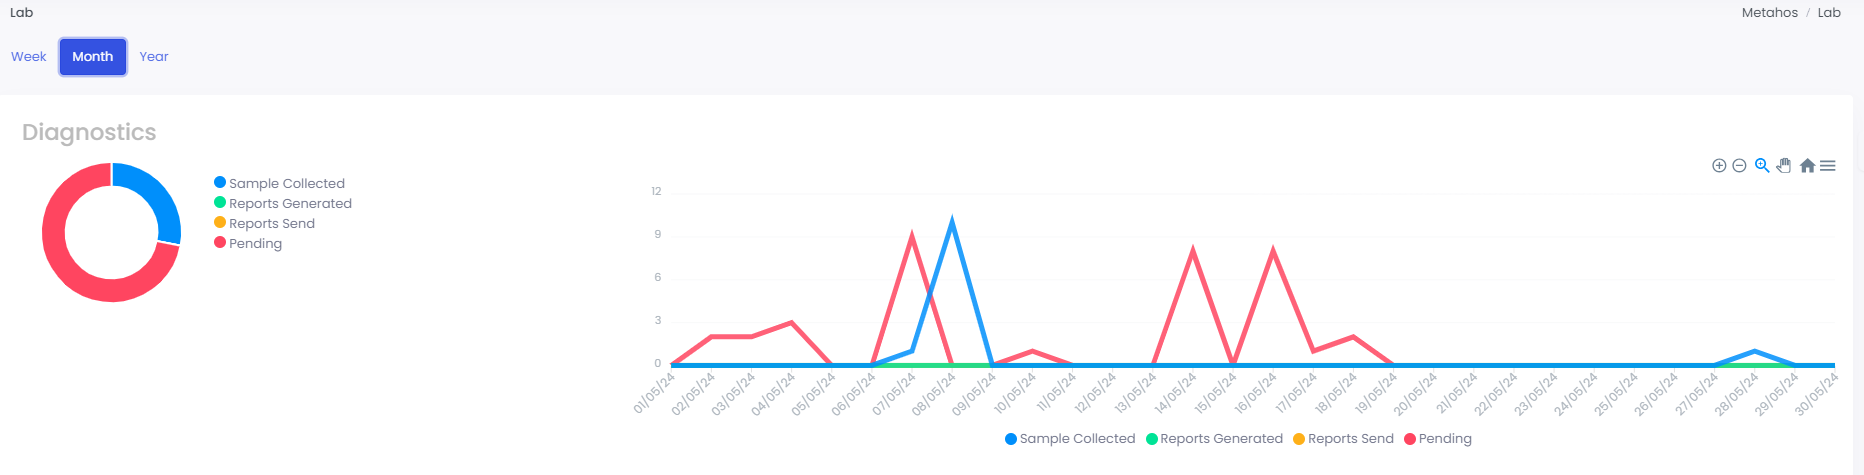
- After selecting “month”, the user will be able to view and download Diagnostic representation (Sample collected, Reports Generated, Reports Send and pending) for current month.

- After selecting “year”, the user will be able to view and download Diagnostic representation (Sample collected, Reports Generated, Reports Send and pending) for current year.
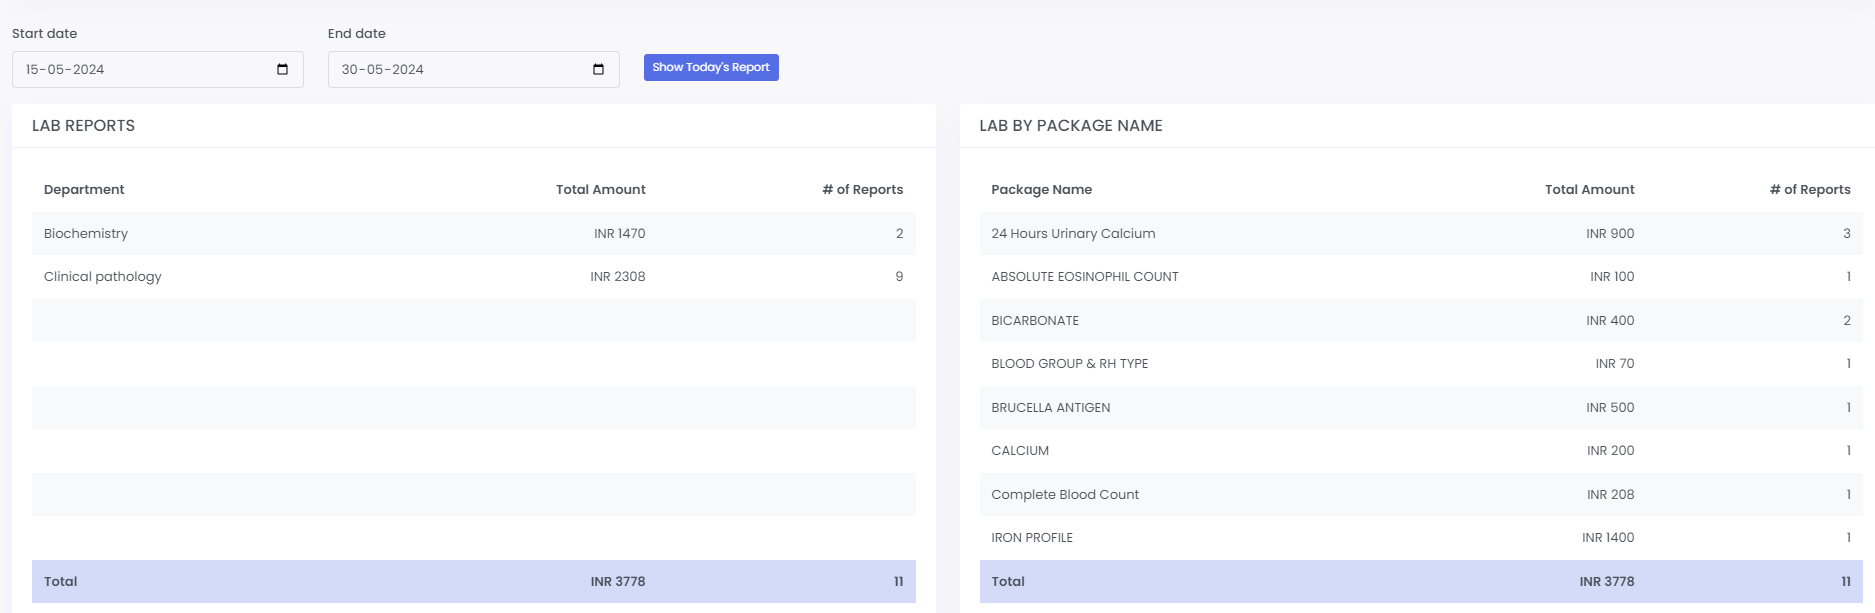
- Users can filter lab reports and lab package name by selecting a start and end date allowing for precise retrieval of relevant data.
- “Show Today’s Report,” users can view lab reports and lab package names specifically for the current day.
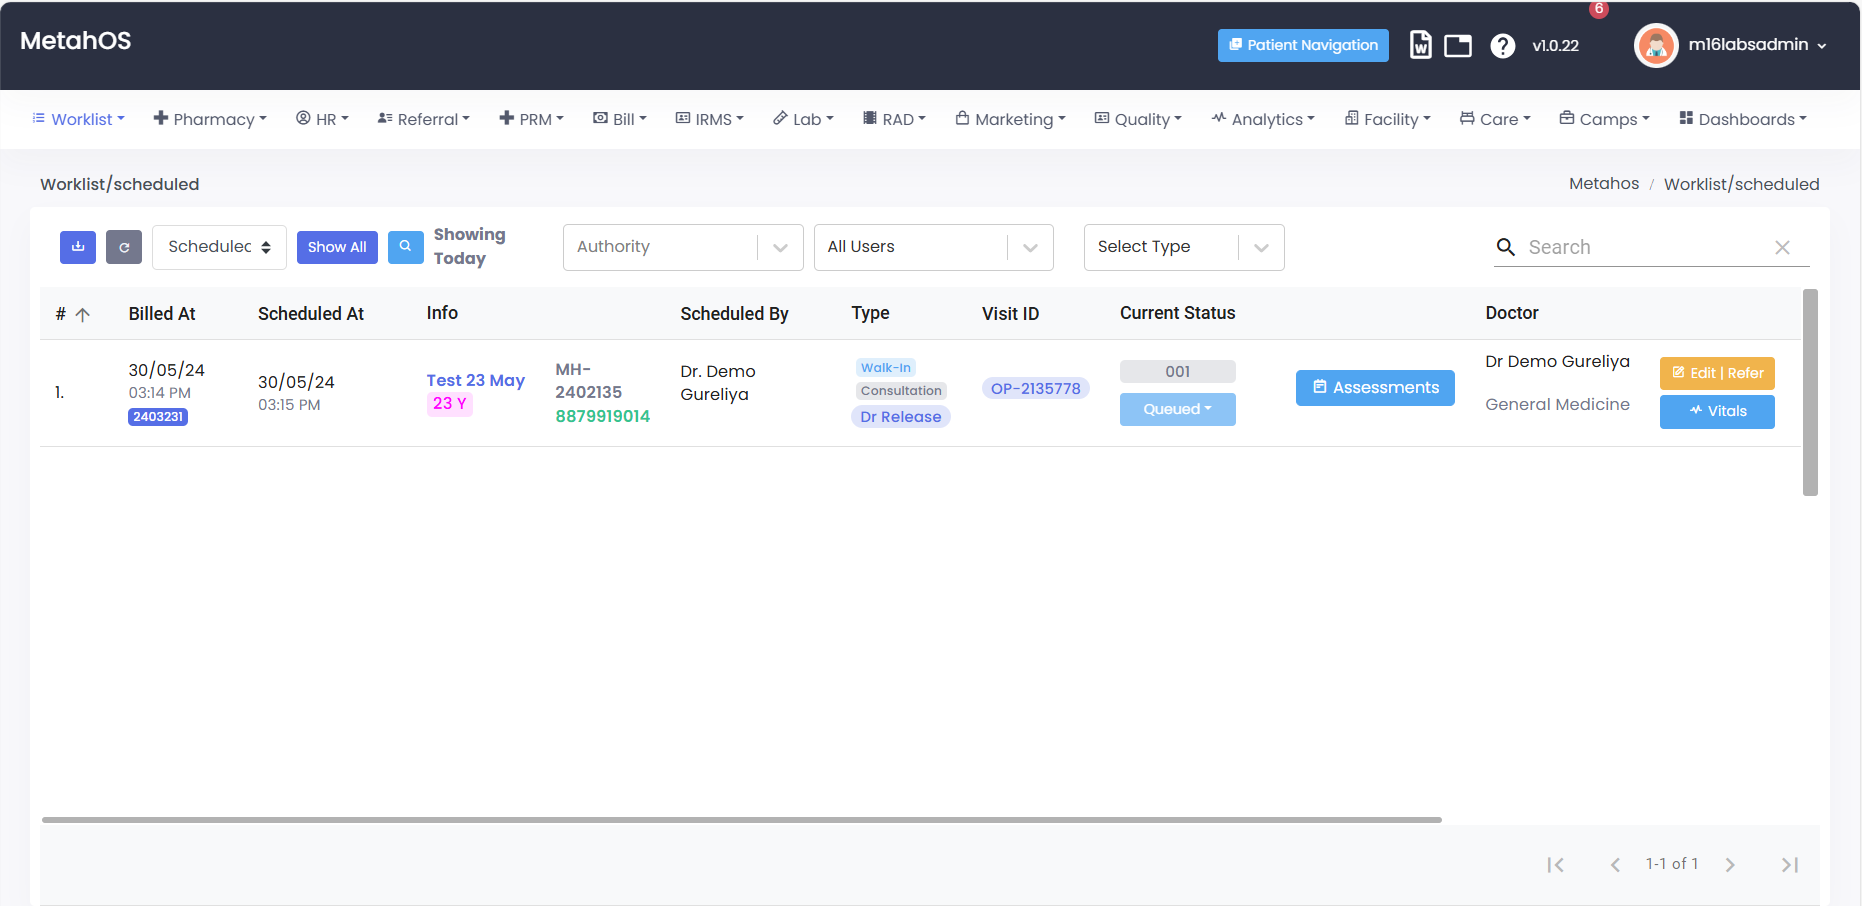
2. Lab > Orders :
To access Lab Orders, navigate to the top menu and select “Lab” followed by “Orders”.
2.1 Orders

- By selecting “Show All,” users can view all patient and doctor details, organized by date.
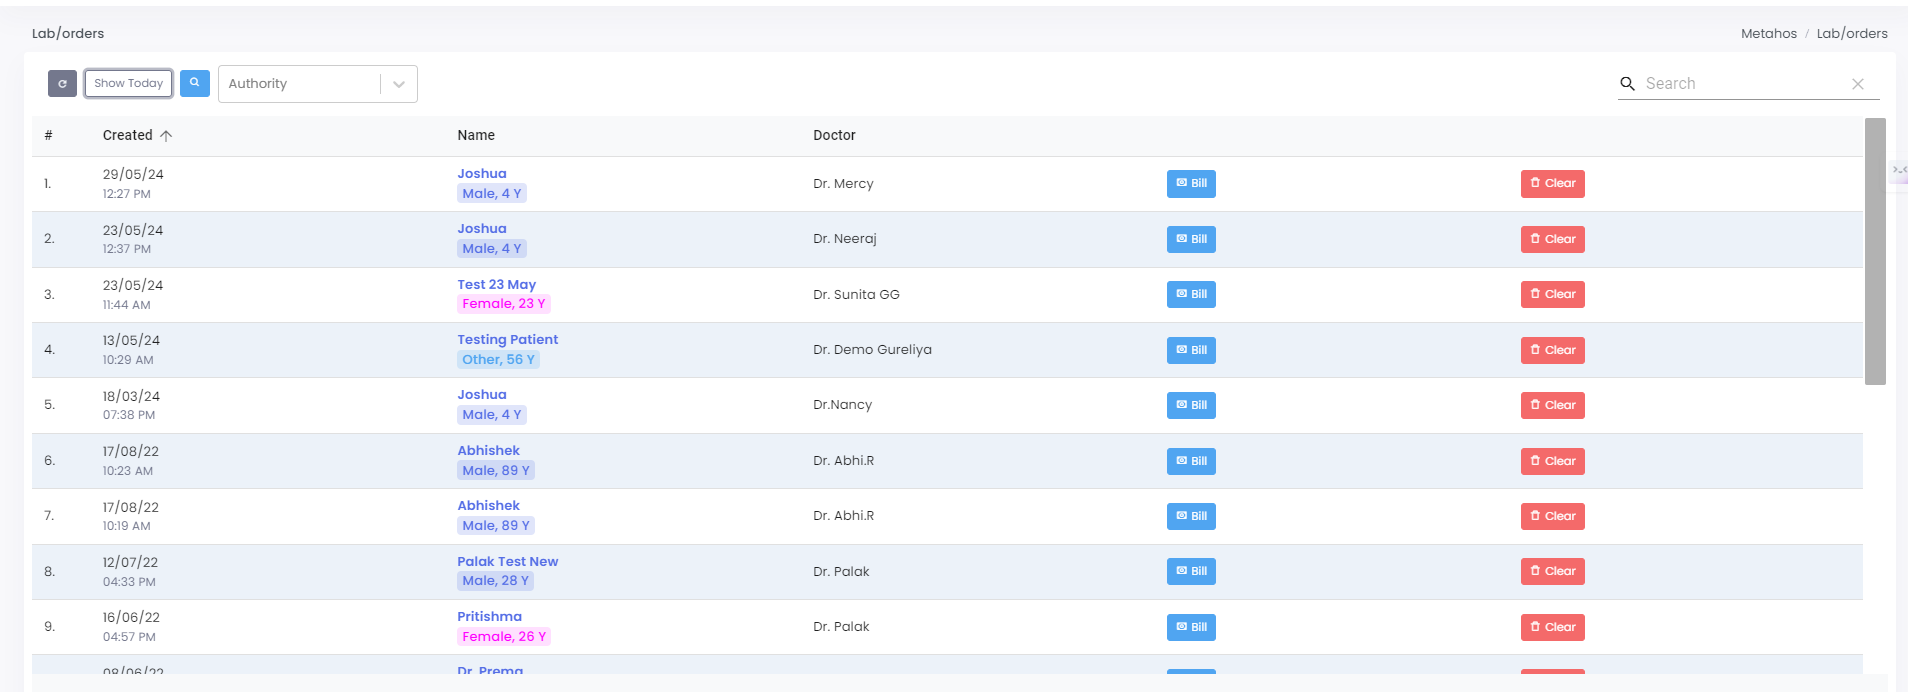
- Here, User can view all patient and doctor details, organized by date.
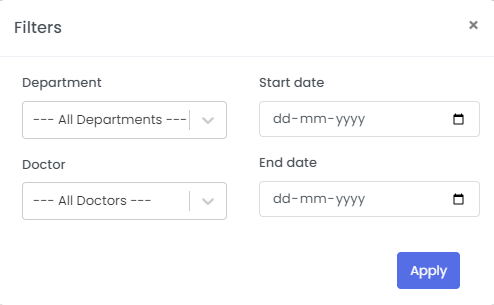
- Upon selecting the search button, users can filter by department, doctor, start date, and end date. Then click on “Apply”.
Note: Upon applying, user can view all patient and doctor details.
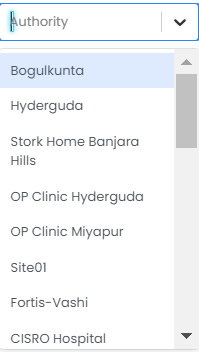
- Select “Authority” and choose the locations accordingly.
3. Lab > Pending :
To access Lab Pending, navigate to the top menu and select “Lab” followed by “Pending”.
3.1 Pending
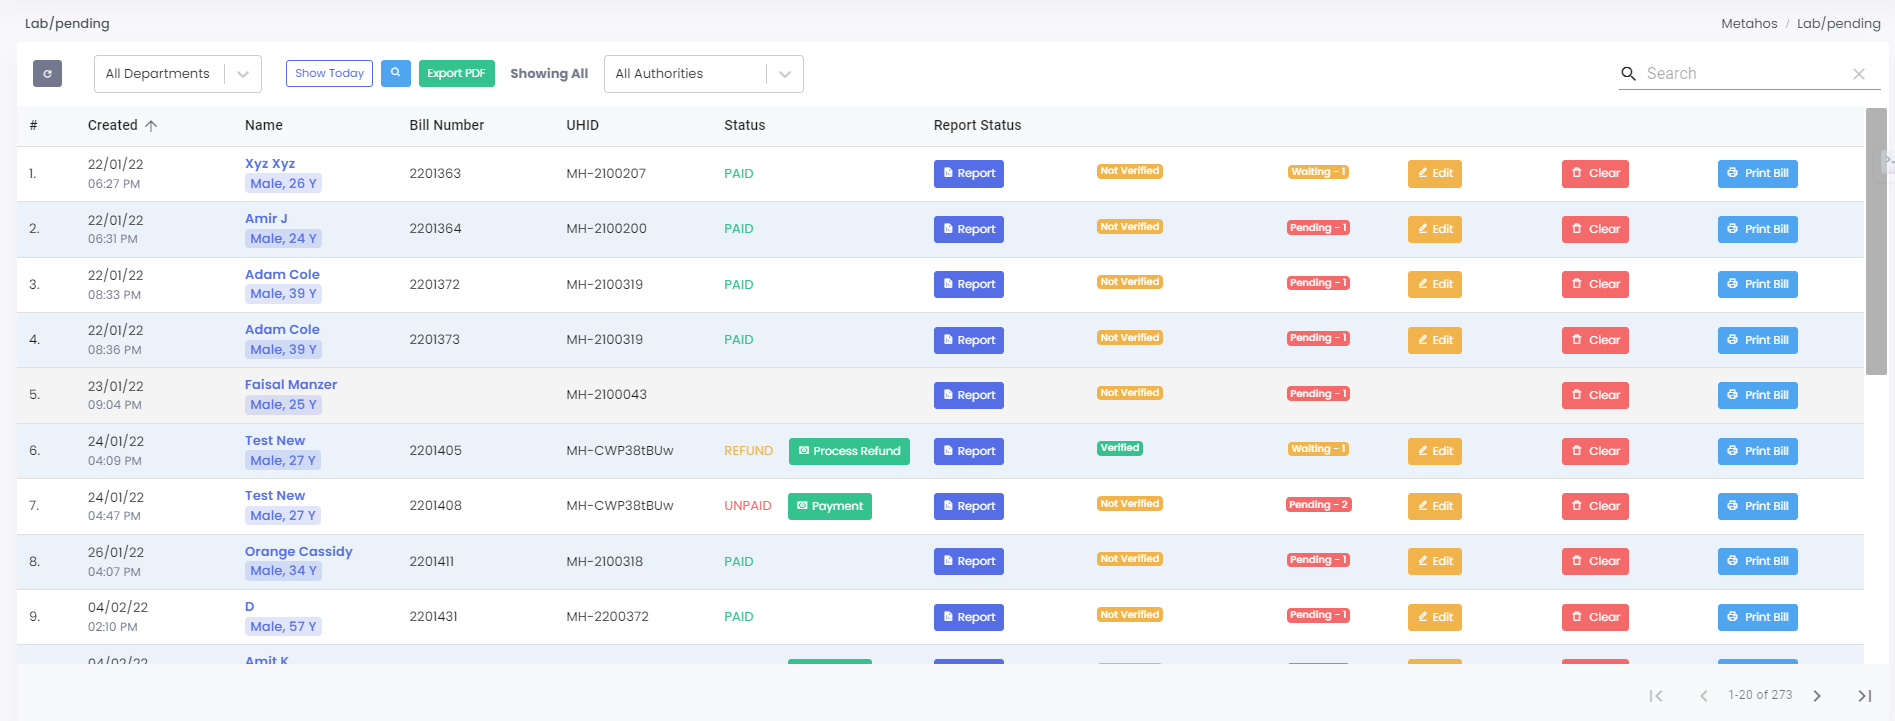
- Here, User can view all patient name, bill number, UHID, payment status and report status organized by date.
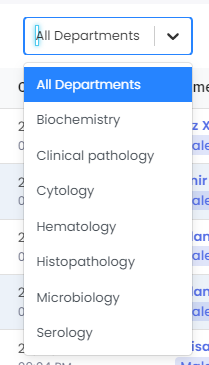
- By selecting “All department,” users can view all patient details, bill number, UHID, payment status and report status, organized by date according to the selected department.

- Here, the user selects the “search” icon filter.
Note: By selecting “Show All,” and “Show Today” users can view all the details.
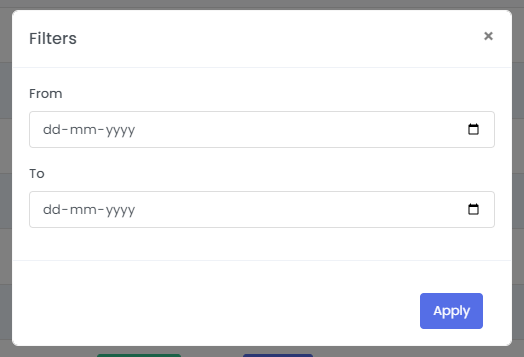
- Upon selecting the search button, users can filter by “From”, and “To”. Then click on “Apply”.

- By selecting “All Authorities,” users can view all patient details, bill number, UHID, payment status and report status, organized by date according to the selected location.
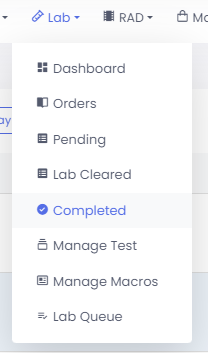
4. Lab > Completed :
To access Lab Orders Completed, navigate to the top menu and select “Lab” followed by “Completed”.
4.1 Completed
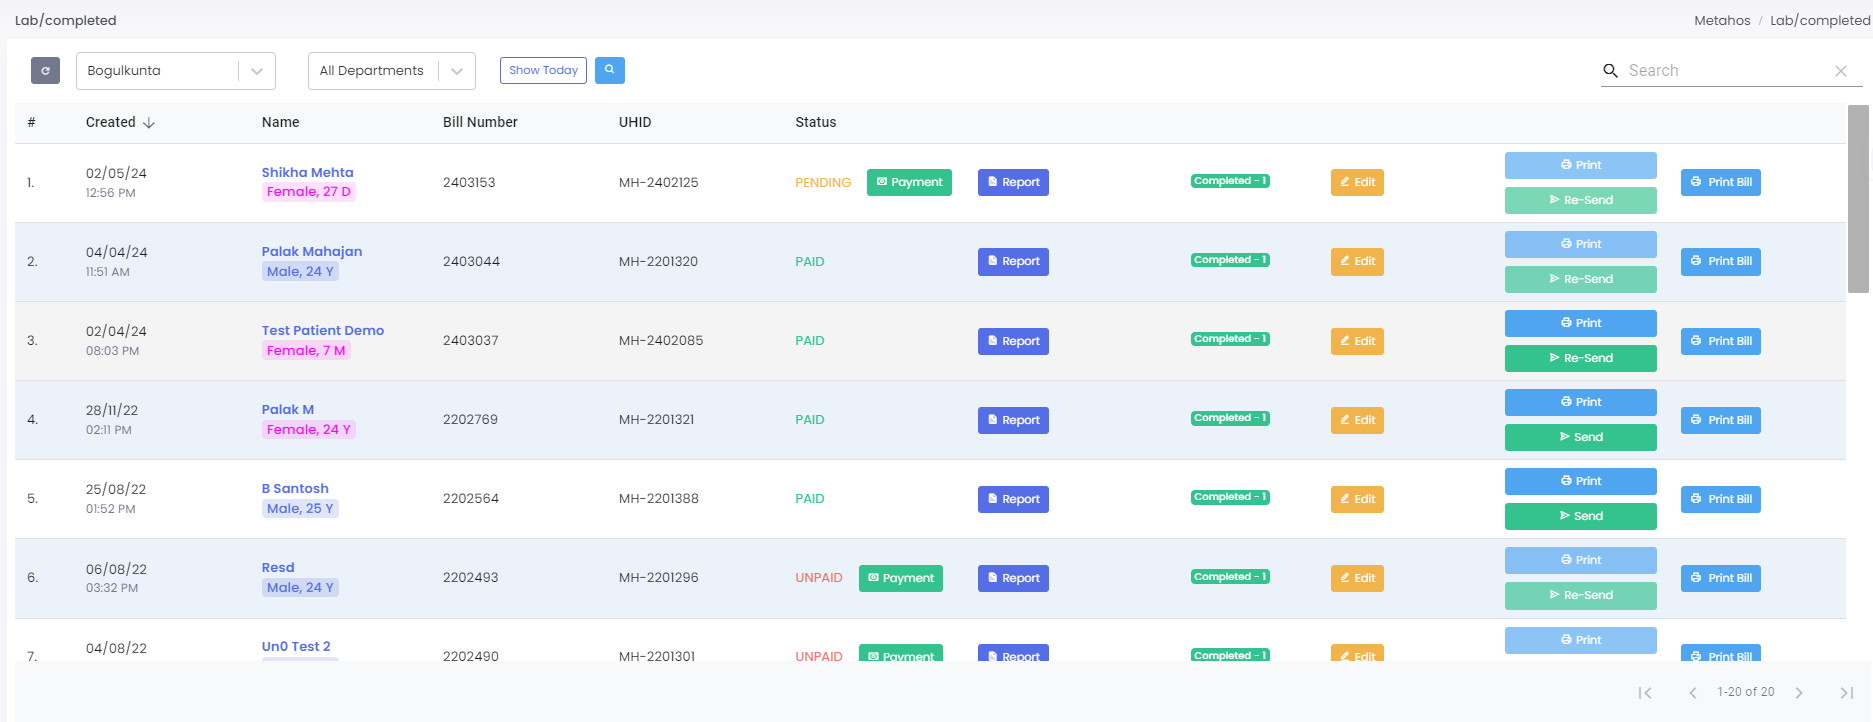
- Here, User can view patient name, bill number, UHID, payment status, final report and can print bills organised by date.
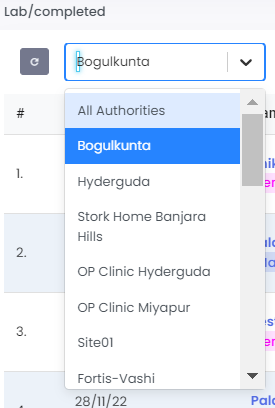
- By selecting “All Authorities,” users can view all patient names, bill number, UHID, payment status, final report and can print bill organized by date according to the selected location.
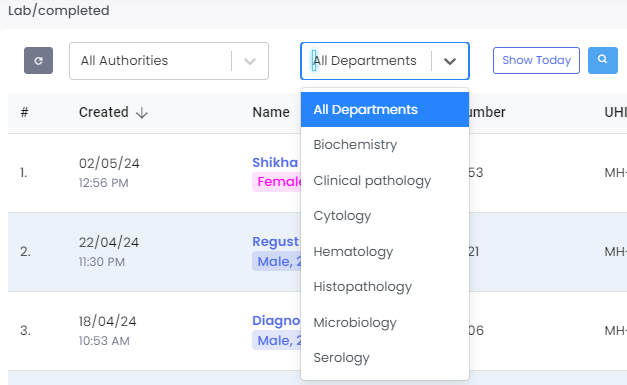
- By selecting “All department,” users can view all patient details, bill number, UHID, payment status, fina lreport and print bills, organized by date according to the selected department.
Note: “Show All", “Show Today” and “Search” functions same as in lab pending.
5. Lab > Manage Test :
To access Lab Manage Test, navigate to the top menu and select “Lab” followed by “Manage Test”.
5.1 Manage Test
- Here, User can view test name, code, department name and sample.
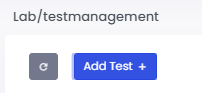
- Select “Add Test” to create a new lab test entry, ensuring accurate test records.
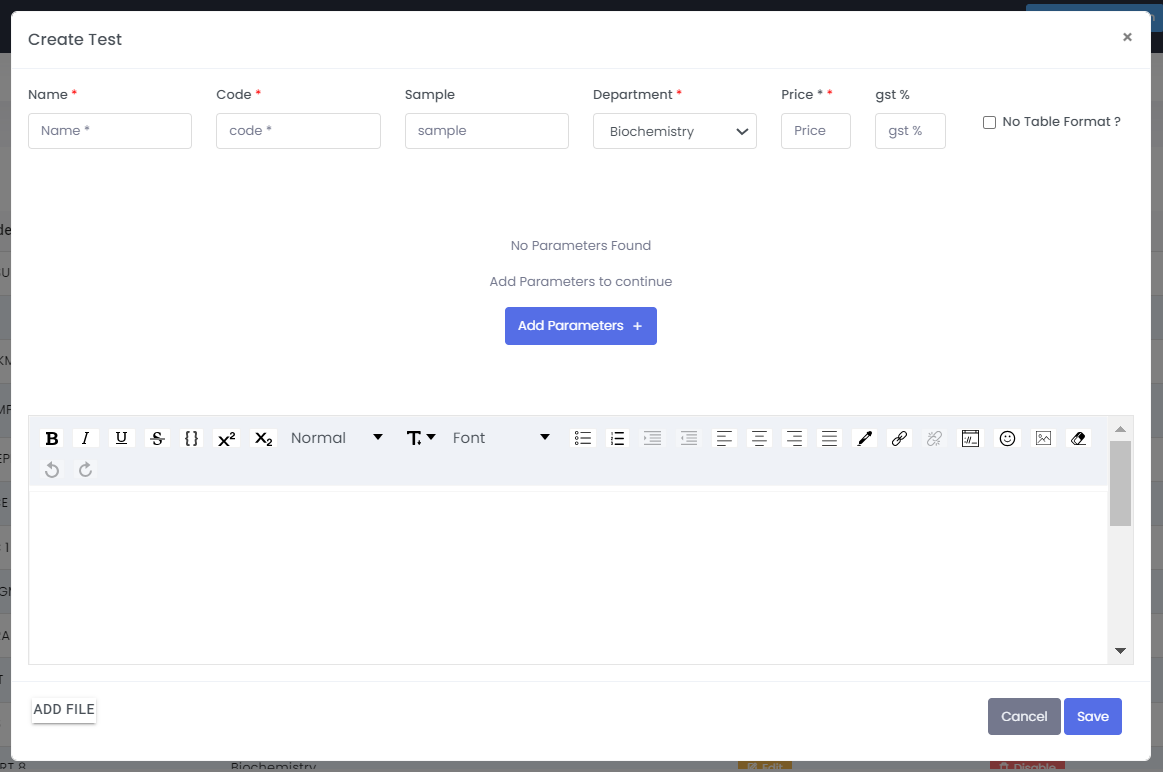
- After selecting “Add Test,” fill in the details according to the test information to ensure precise lab test records.
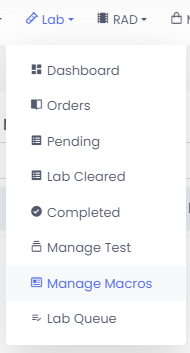
6. Lab > Manage Macros :
To access Lab Manage Macros, navigate to the top menu and select “Lab” followed by “Manage Macros”.
6.1 Manage Macros
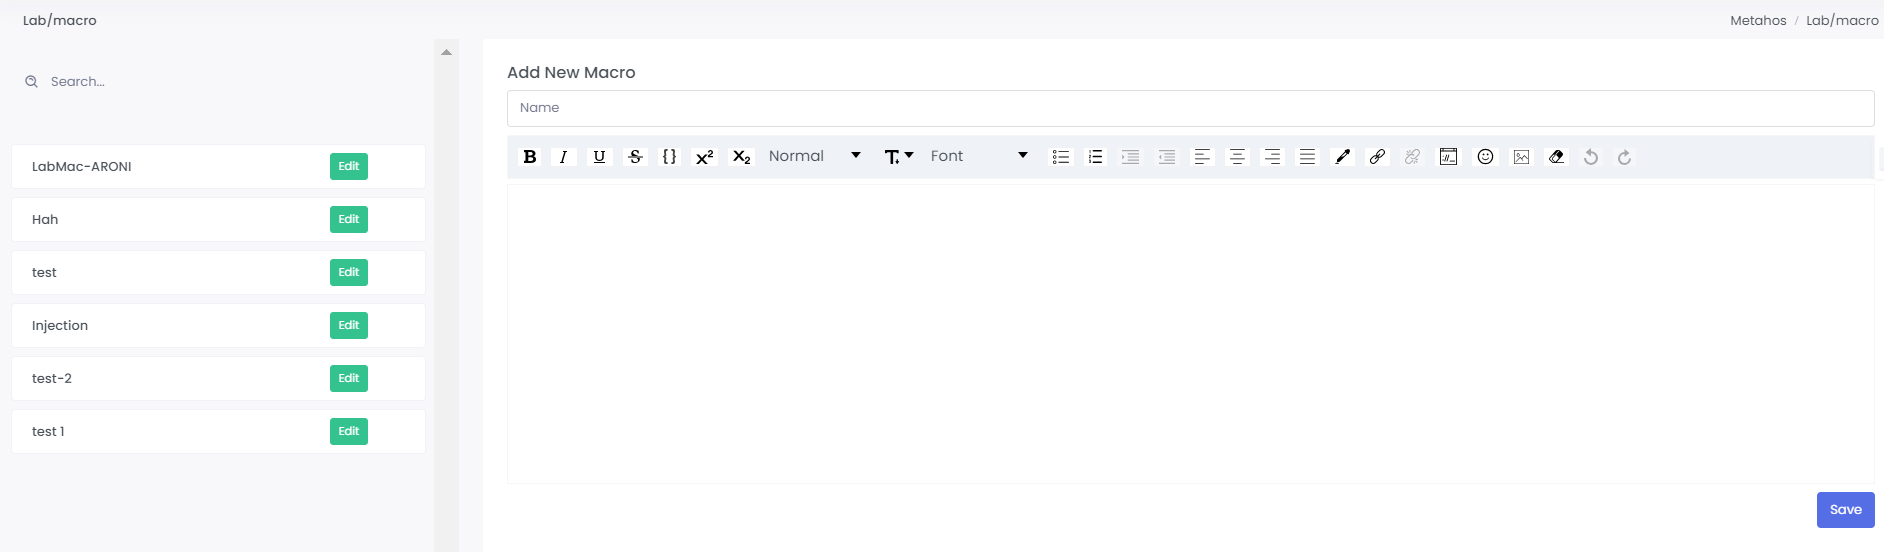
- After selecting “Add New Macro” by entering test names and their corresponding descriptions, then simply click “Save” to store the information.
- Macros can be created and saved to include lab test-related information or interpretation descriptions in lab reports.
Note: These macros can be triggered during report generation for any patient, ensuring the added information is printed in the final lab report.
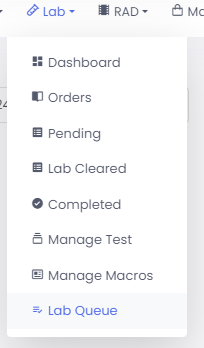
7. Lab > Lab Queue :
To access Lab Queue, navigate to the top menu and select “Lab” followed by “Lab Queue”.
7.1 Lab Queue
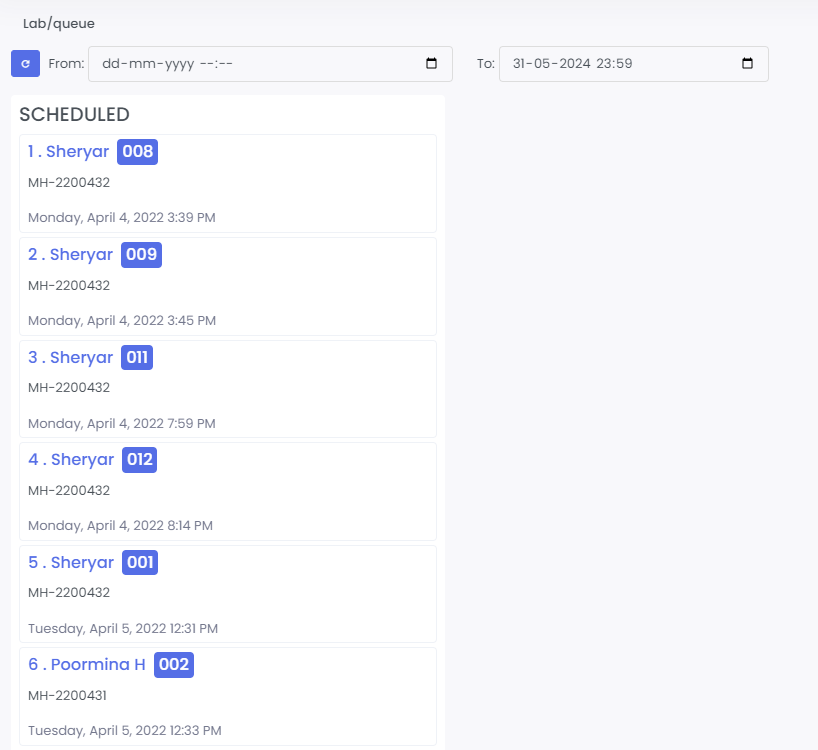
- Here, User can view schedule for the lab tests. After setting the “From” and “To” dates, view the lab test queue along with the corresponding patient details.